
Making this box is not as simple as I initially thought. One of the most time-consuming parts of this box is making the finger joints. After making the finger joints the rest of the process was very smooth.
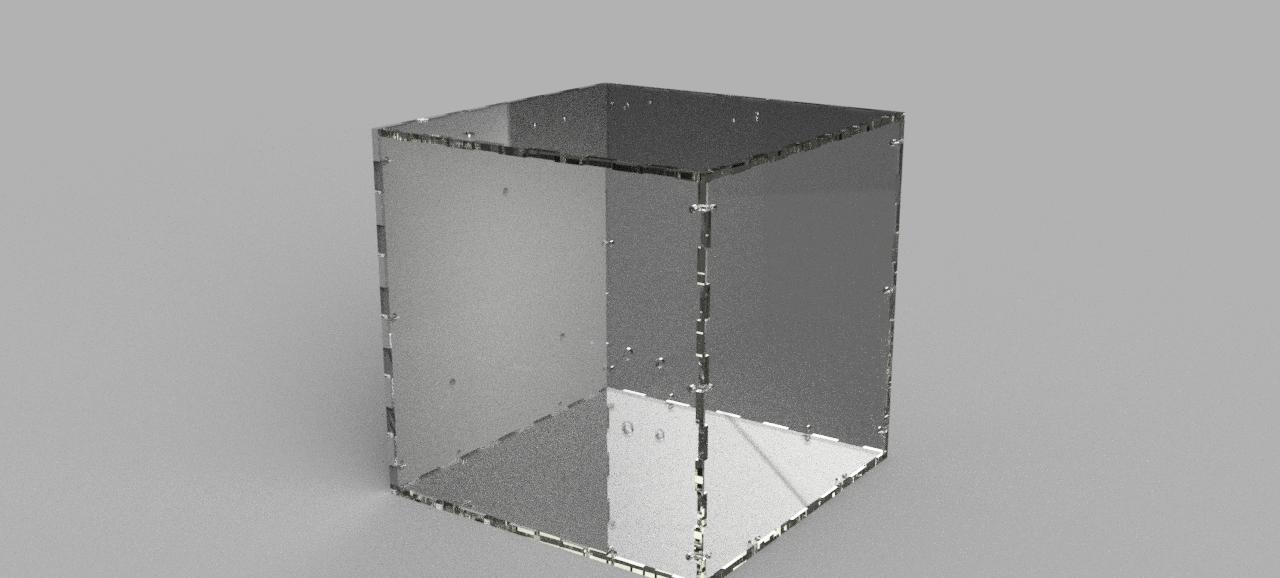
CAD rendering of the box in acrylic
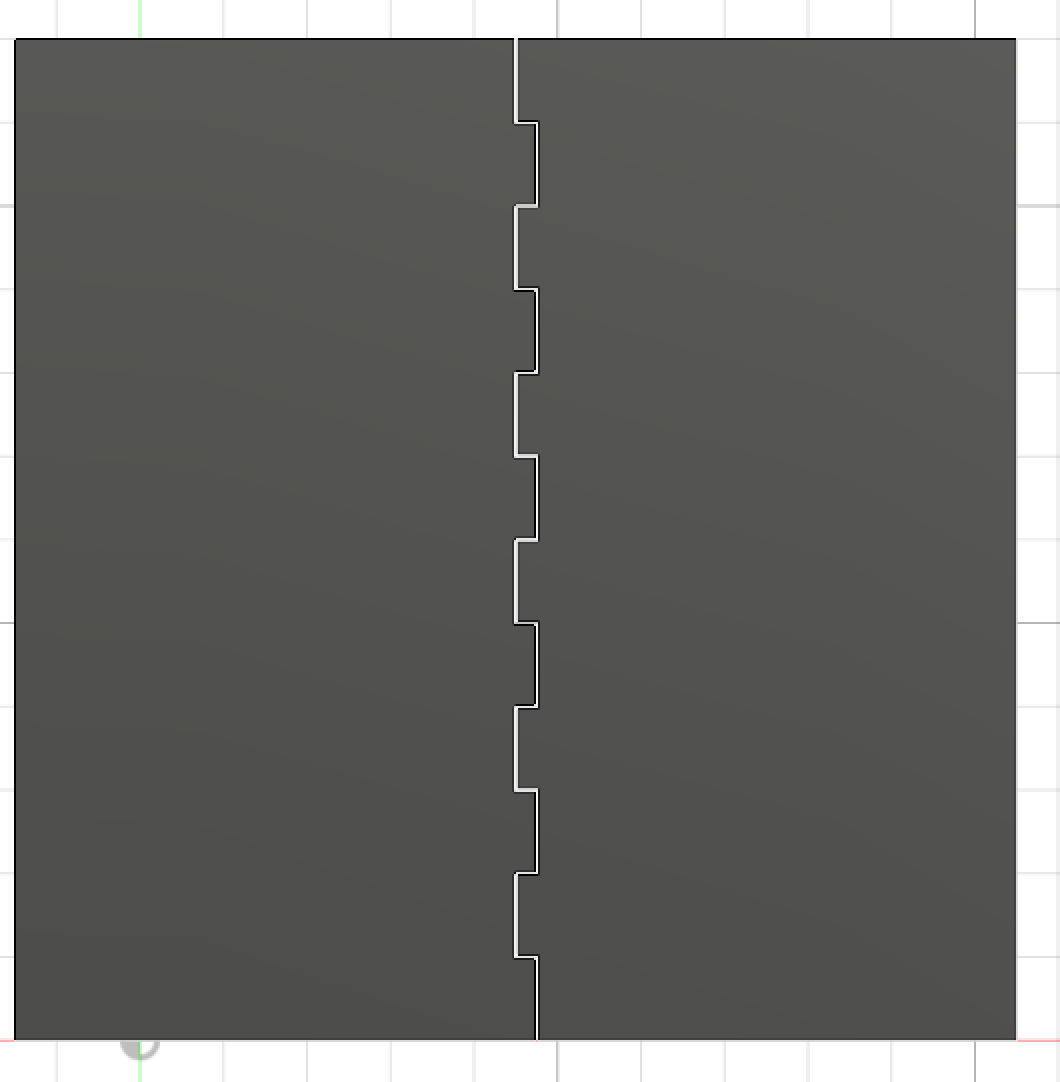
Finger joint design
The CAD was the first thing that was done and then DXF files were exported to the laser cutter. The first prototype of the box was made out of cardboard to make sure all of the sides would fit perfectly- not too wiggly and not too tight.
The DXF files are the surfaces sketches of each of the faces of the box. These files are the ones that are processed into the commands that the laser cutter uses to position the laser. Having the CAD finished makes it easy to produce these files because we just pull them off the faces of our designs.
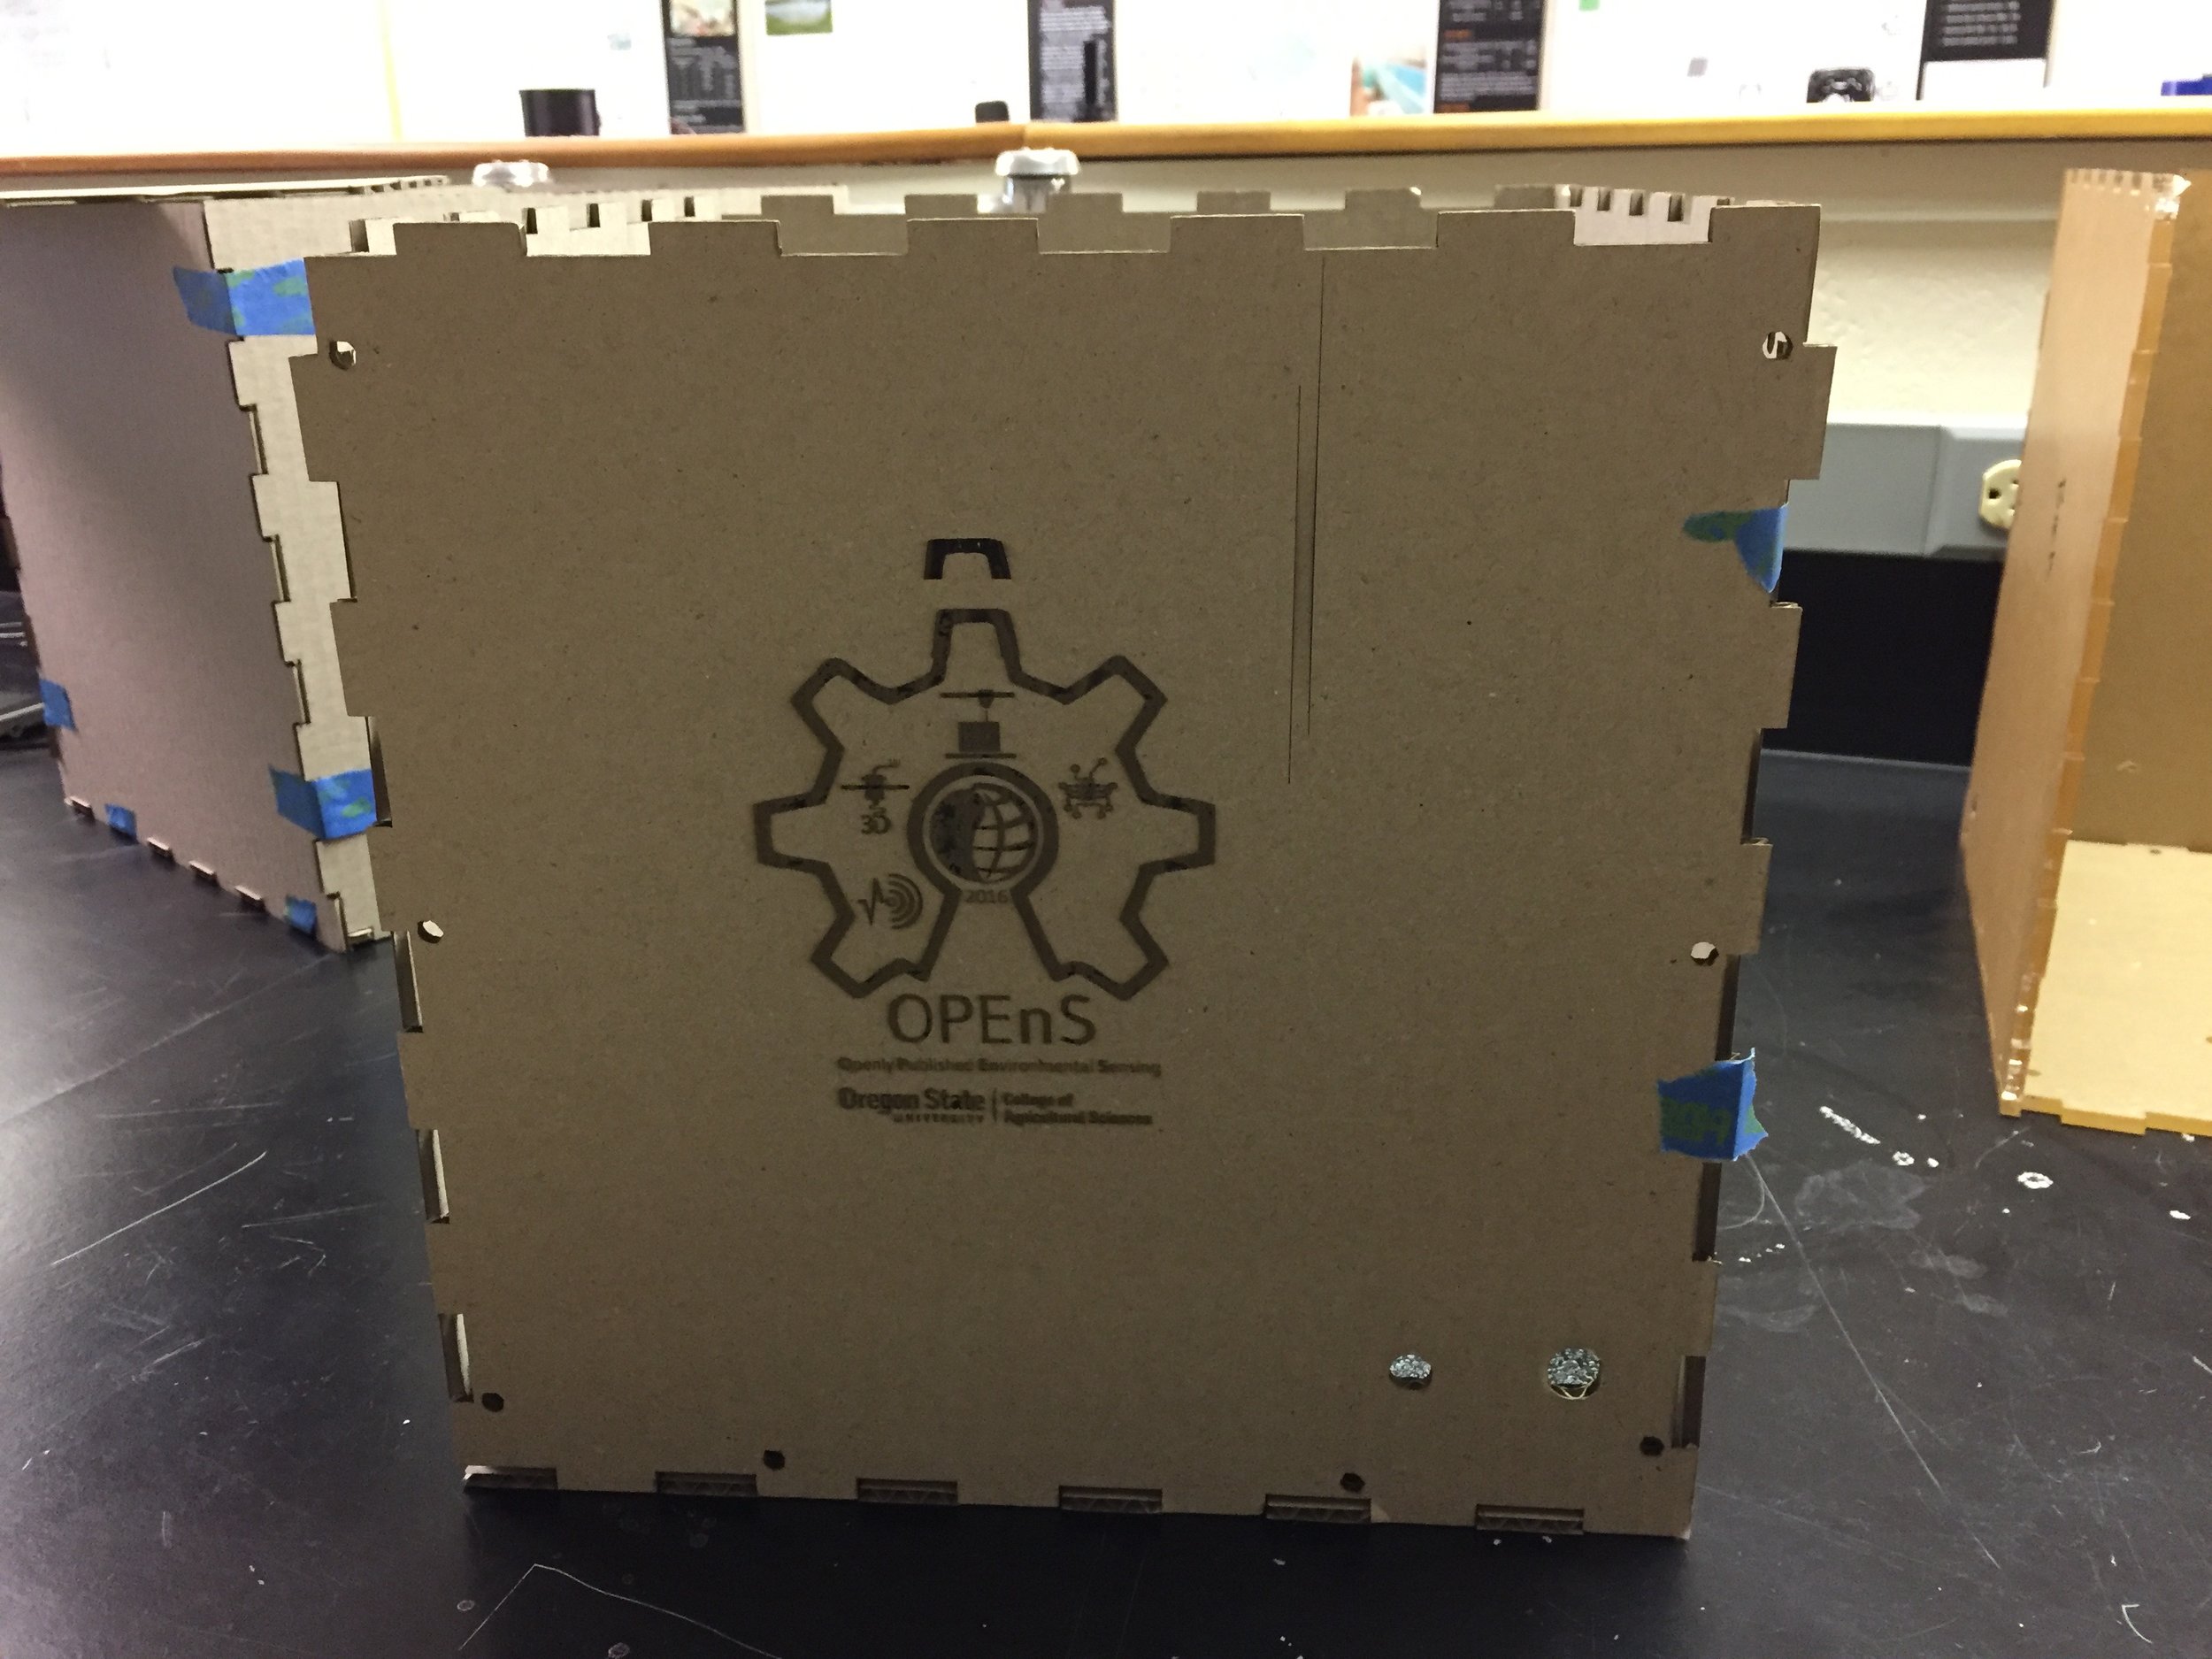
Cardboard prototype
We also did our first tests etching on cardboard. The OPEnS logo was the design that we used for our testing and it came out very well.
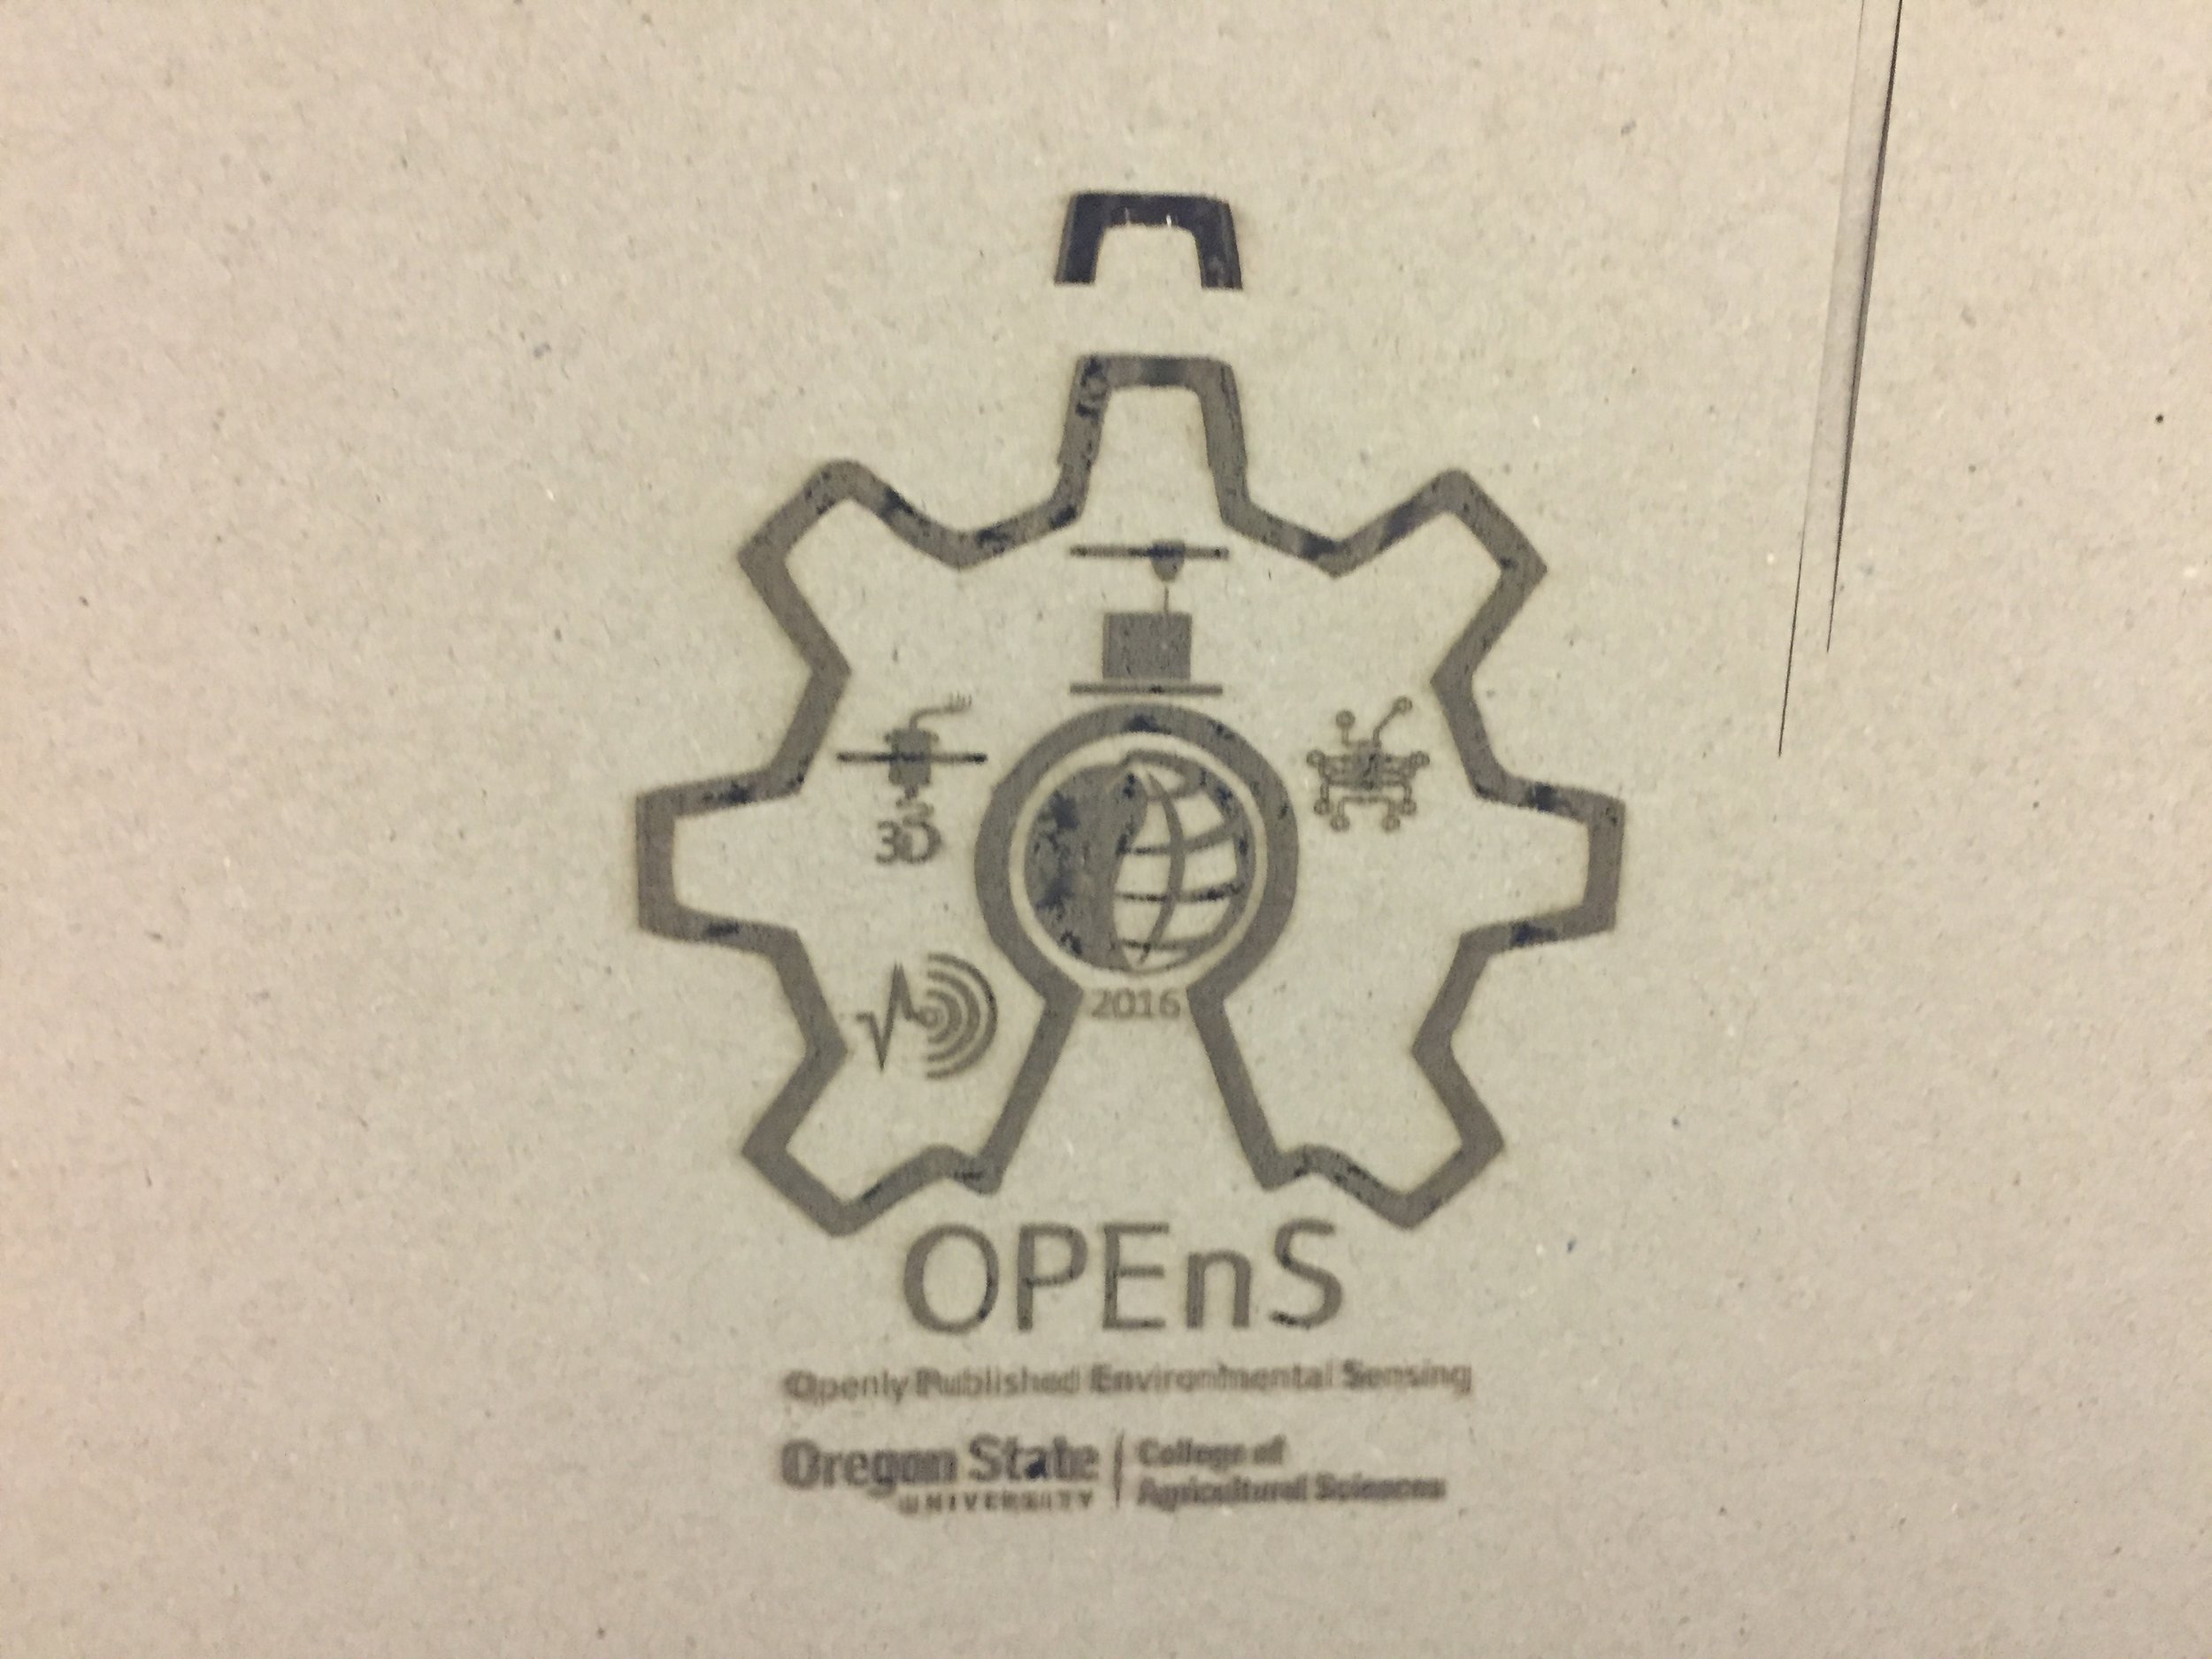
First cardboard etching test