
By: Merritt Allen
INTRODUCTION:
The use of annealing ovens for 3D printed plastic is a useful technique that helps strengthen the plastic part and improves the overall look of the plastic. In this experiment, four 3D printed bag sealing caps were annealed with different techniques to compare the results. The annealing of ABS plastic is performed at a temperature range of 105C-107C which the glass transition phase of the plastic is. When ABS is printed, it is cooled below its glass transition phase which keeps the plastic harder and brittle. By slowly heating up the plastic to its glass transition phase the plastic begins to deform. This deformation is the breaking of the semi crystalline structure within the plastic to relieve stress that is created when the plastic is printed. When plastic is slowly heated, and this stress is relieved, the material is then cool very slowly so that the internal structure remains somewhat viscous- increasing overall strength of the material.
BACKGROUND:
The oven used to perform this experiment was a mechanical convection oven [Source]. The mechanically circulated air heats the plastic, and then melts it. The plastic parts are in the oven for the entire heating, baking, and cooling process. The error of the oven is estimated to be +-2C. [Source] Literature states that annealing can vary in process but most sources suggest the heating of the oven to the glass transition phase at a rate of 50F to 200F over the course of 2 hours. Holding in the oven 30 minutes for every ¼” of plastic (width) and then cooled 50F every hour. The purpose of the slow process is that the plastic is amorphous. Different parts of the plastic can be in different states at different times based on thickness and air exposure. In other words, there is uneven melting and cooling of plastics. The mechanical circulation of air and the slow process is supposed to account for much of these errors. If plastics are cooled or heated at different rates then different parts of the plastics can be in different states which could potentially weaken the part overall by creating stress concentrations; having a brittle location, a half-melted location, or a partially cooled location will disrupt the uniformity of the printed part.
EXPERIMENTAL:
Experiment one was conducted with a high range of temperature, revealing the importance of the glass transition phase temperature. The first cap was placed in the oven at a temperature of 50C and then slowly brought to a temperature of 108C over the course of 30 min. The 3D printed cap is ¼” in thick. After 30 min at this temperature, the cap was removed without cooling slowly. There was no difference in appearance or feel of the cap.
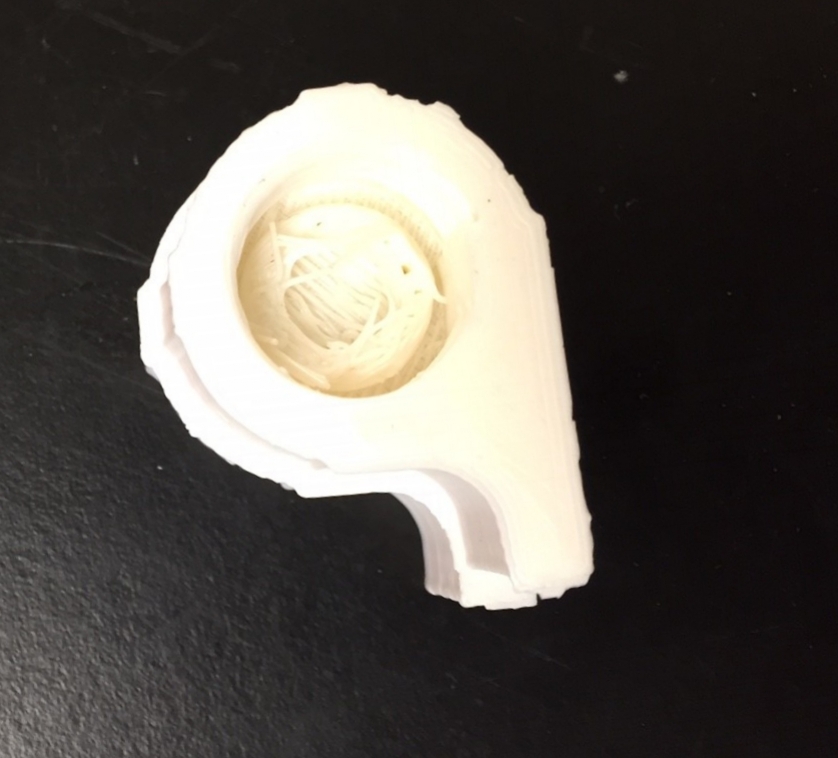
This cap was cooled for over 24 hours before being put back in the oven. The purpose of a second heating was to try and see a noticeable difference in the plastic. The second heating was conducted at a stable temperature of 121C. The total time in the oven was 1 hour 42 minutes. This much longer than the recommended time. When pulled from the oven, the caps were noticeably deformed with visible melting near the center. This warping was the plastic melting outwardly. This is not desired. The purpose of the glass transition phase is to melt the crystalline internal structure of the plastic without deforming the overall shape. It was concluded that the temperature was much too high and that the glass transition phase does hold precedence.
The next experiment tested an extended time in the oven. A cap was placed in the oven and the temperature was increased by 12-15C every 15 minutes until the oven reached 105-107C. The cap was then held in the oven for 57 minutes. After this, the cooling process began. The oven was decreased by 15-20 degrees every 15 minutes until the oven reach 50C. It was then turned off and allowed to cool to a temperature slightly above room temperature. This cap shrank slightly (3mm) which was noticed when the cap was not able to screw onto its respective bottle.
The above experiment was repeated, and it was found that this shrank as well.
A final experiment was conducted with a newly printed cap. The oven was heated by increasing the temperature 12-15 degrees Celsius every 15 until it was brought to 105-107C (oven fluctuates slightly). The part was kept in the oven for almost 2 hours before the cooling process began. The oven was brought down to 50C in the same manner as above. The part was cooled to room temperature. This part also shrank by approximately 3 mm. The part, however, was also shinier than its un-annealed state, and was smoother after it was cooled.
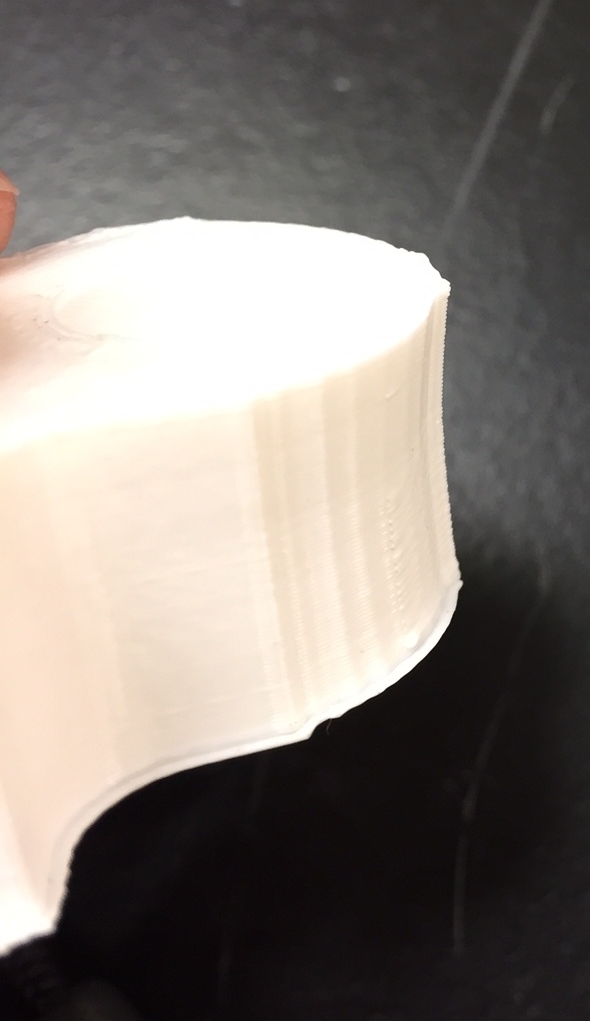
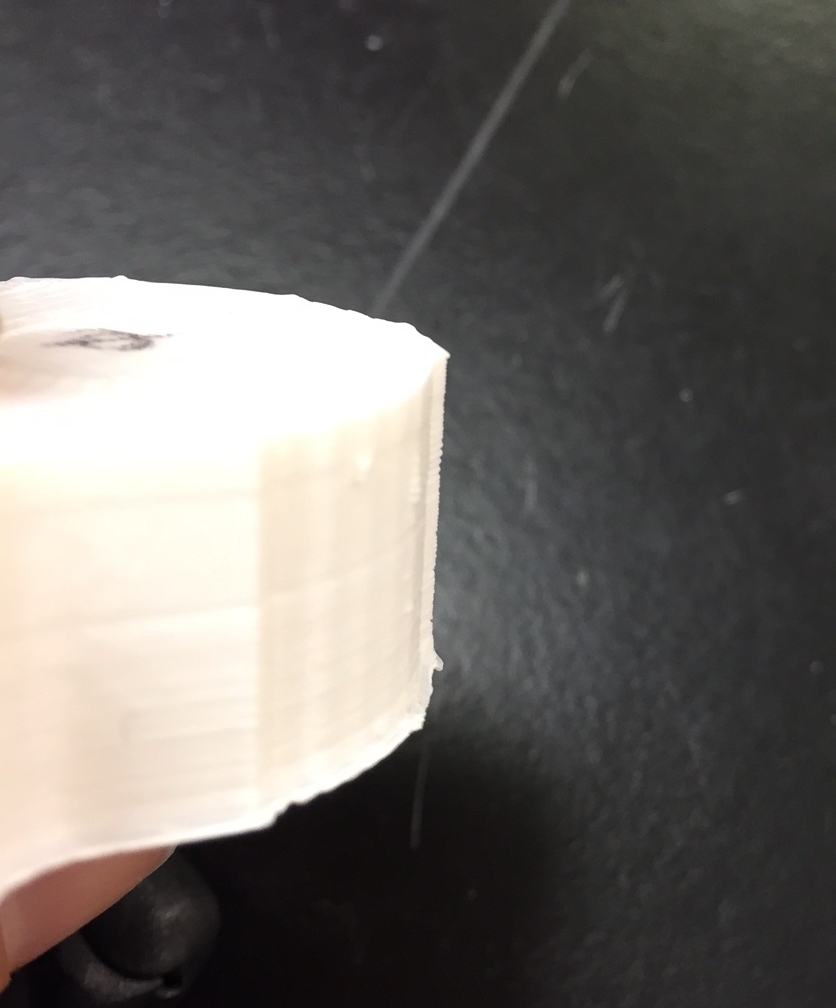
The pictures above highlight the difference between the annealed and the unannealed caps. The Annealed caps show the visual signs of warping and slight melting.
The photo above shows the shrinking that occurs when the 3D caps are annealed. There was little warping on this cap-temperature was correct- but shrinking still occurred which can be seen above with the unannealed cap is larger underneath the other cap.
CONCLUSION
Based on the above experiments, it could be concluded that annealing for smaller printed parts that need to fit counter parts (ie. Caps) may not be the most efficient method of finishing a part. The shrinkage of 3 mm could be accounted for in the 3D design process by adjusting dimensions of the design. There are, however, better methods that do not have such a large amount of shrinking involved. Also, if the goal of the annealing is for aesthetic purposes then vapor finishing is the suggested method. The unfinished cap has a diameter of 19 mm, a vapor finished one of 18 mm, and an annealed one of 16.5 mm. Future annealing experiments could be conducted on flatter parts whose max load tolerance could be measured- to test strength improvement-, or parts in which shrinking is easily accounted for. Based on the annealing of caps, however, the process was more cumbersome than necessary and vapor finishing with acetone is the recommended method for both these parts and parts similar in design. Vapor finishing accomplishes the same aesthetic results without the wait time and the shrinking.