
Abstract:
After modifying the HyperRail’s winding system, I was able to get the line driving the carriage assembly to not wind up on itself. This used to cause the system to have very choppy movements, but now it works fine. I still need to do some testing for any slipping, but that will come next. I also fixed the deflection problem that we initially had by changing the distance between the supports. So now it should work with any length of aluminum extrusion.
Objective:
- Redesign motor mount
- Create modular system for any length of HyperRail
- Fix deflection problem
Quick Video Update:
Descriptive Update:
Design:
The old design had the tendency to break much at the little pins that were extruding from the top piece of the motor mount, and after they broke the piece would no longer be stable
Old motor mount
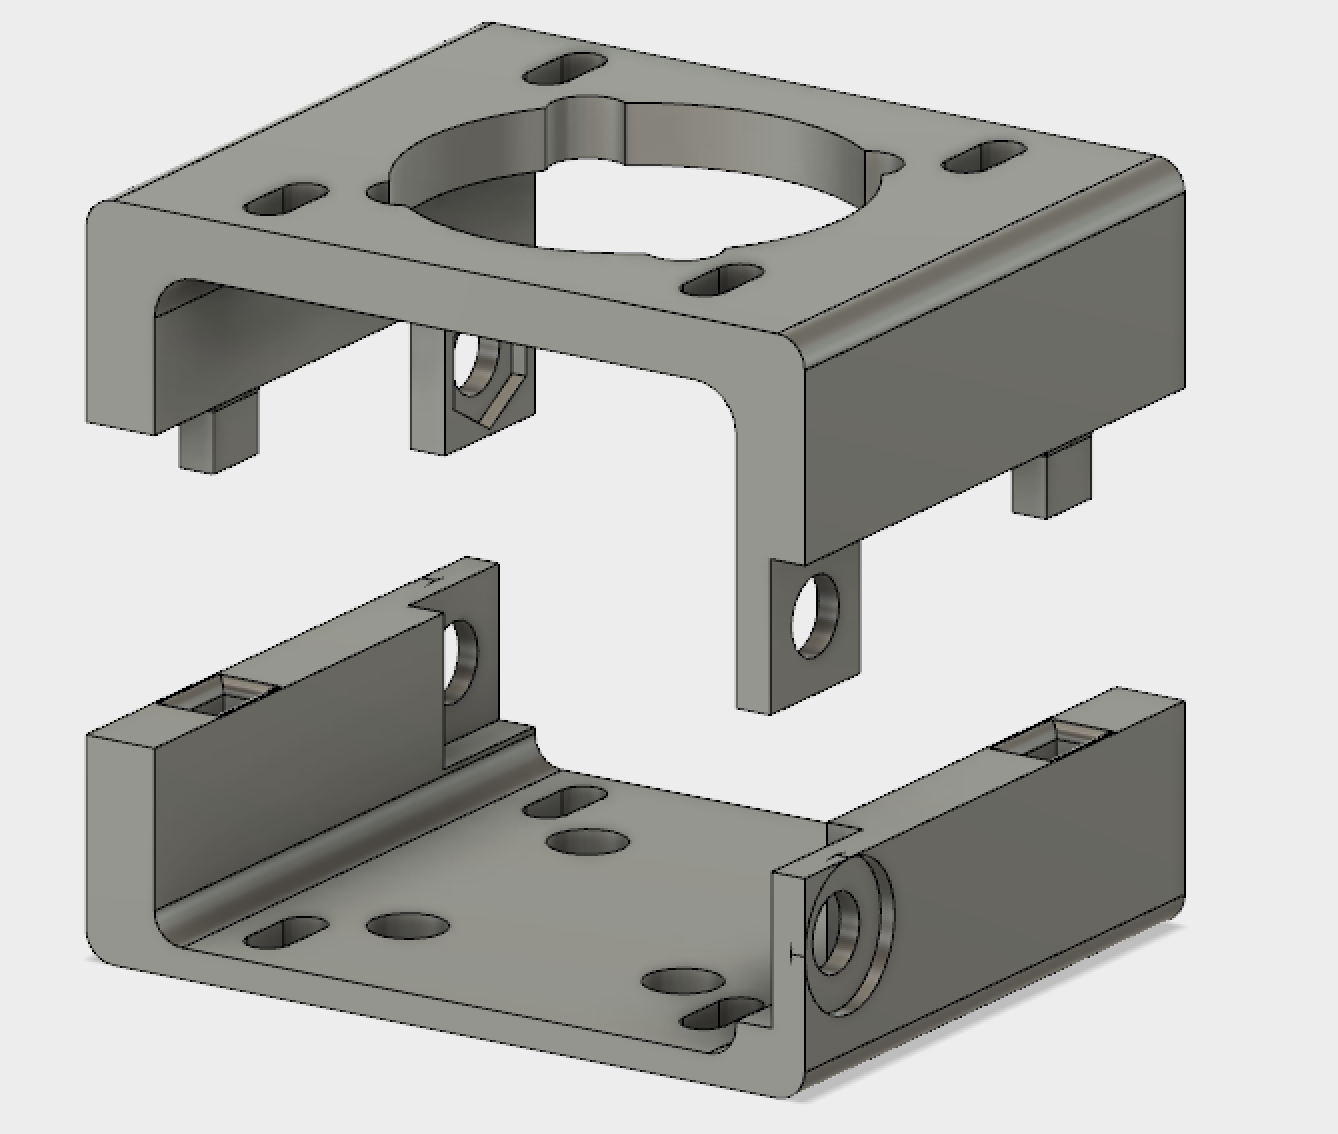
The next image is the new design of the motor mount. This one doesn’t have any small pieces that have the potential to break off.
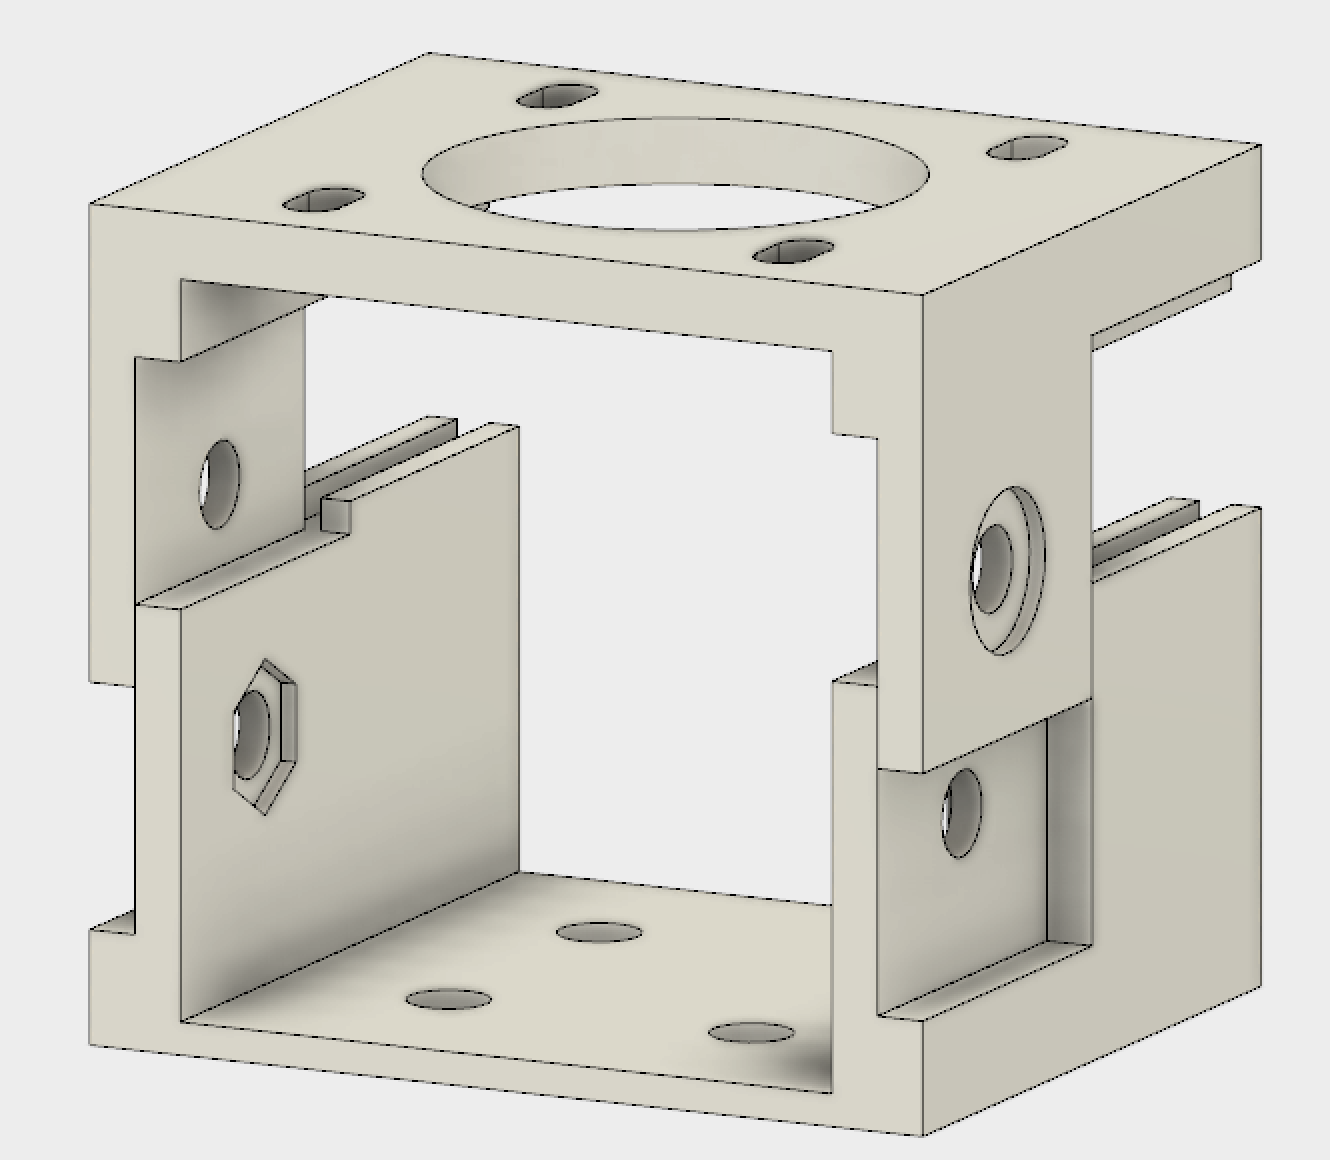
New design for motor mount
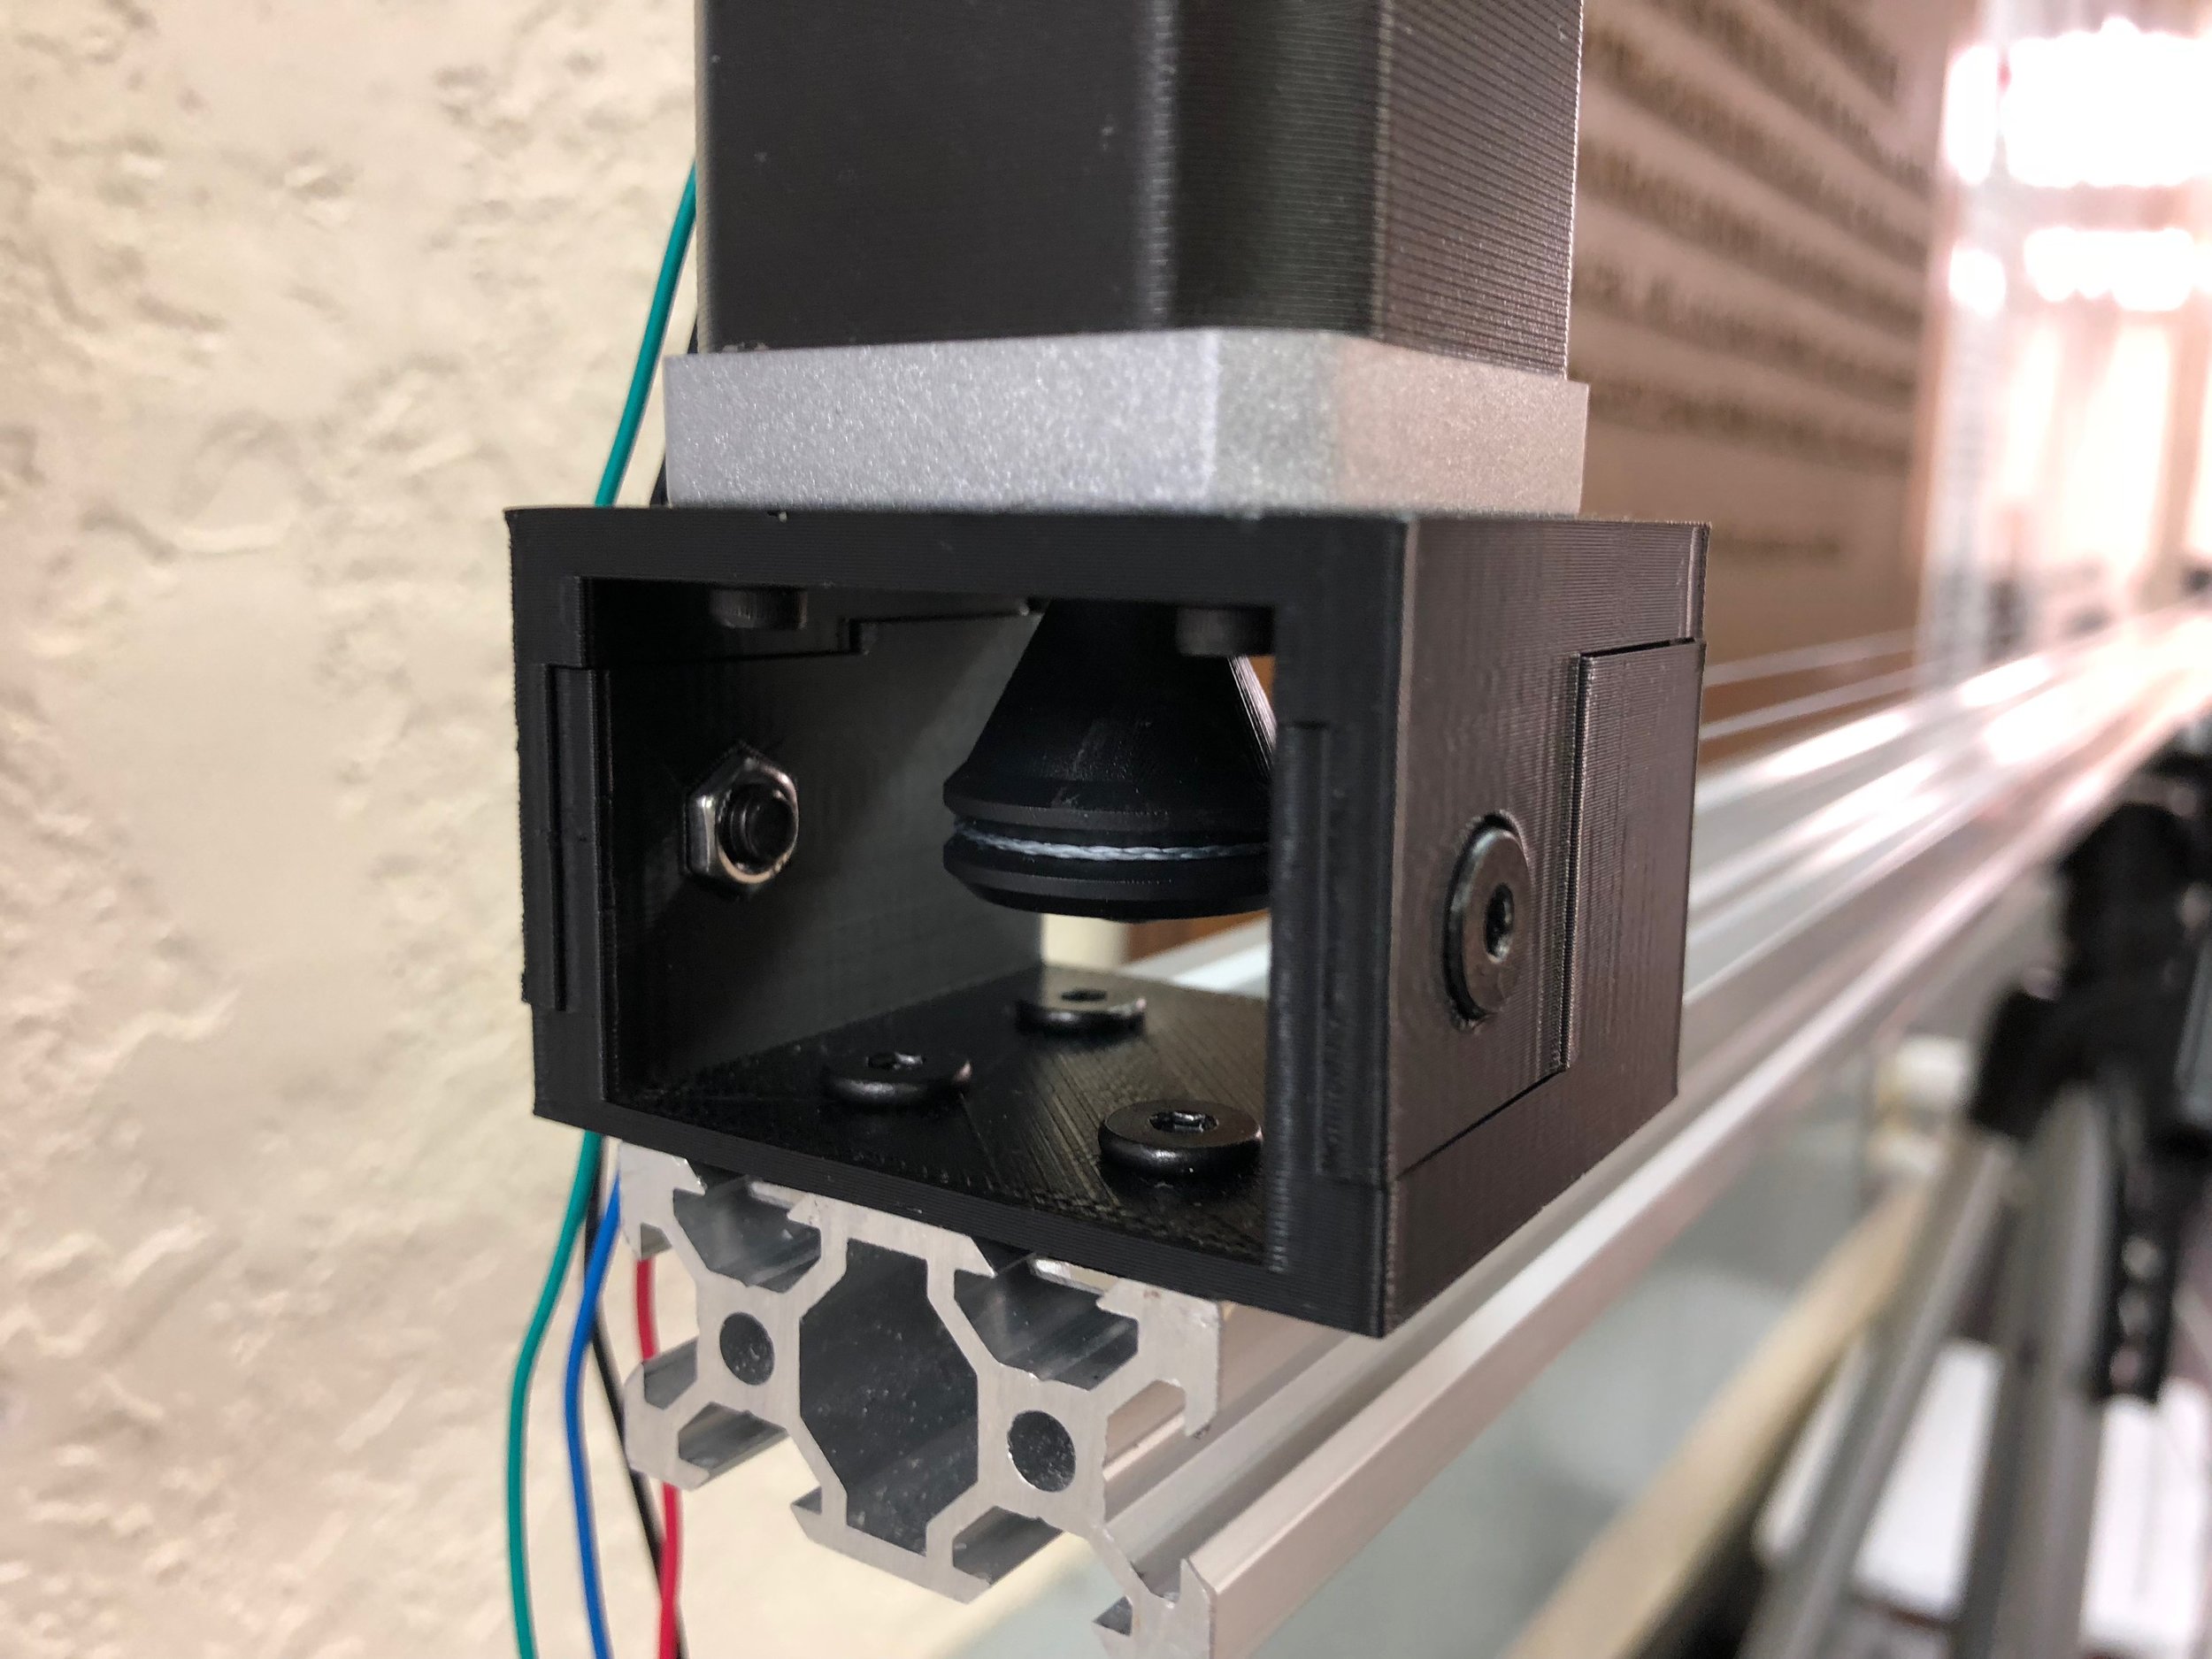
Actual installed 3D printed piece
With this fixed, I then moved on to designing a better coiling system for the rail:
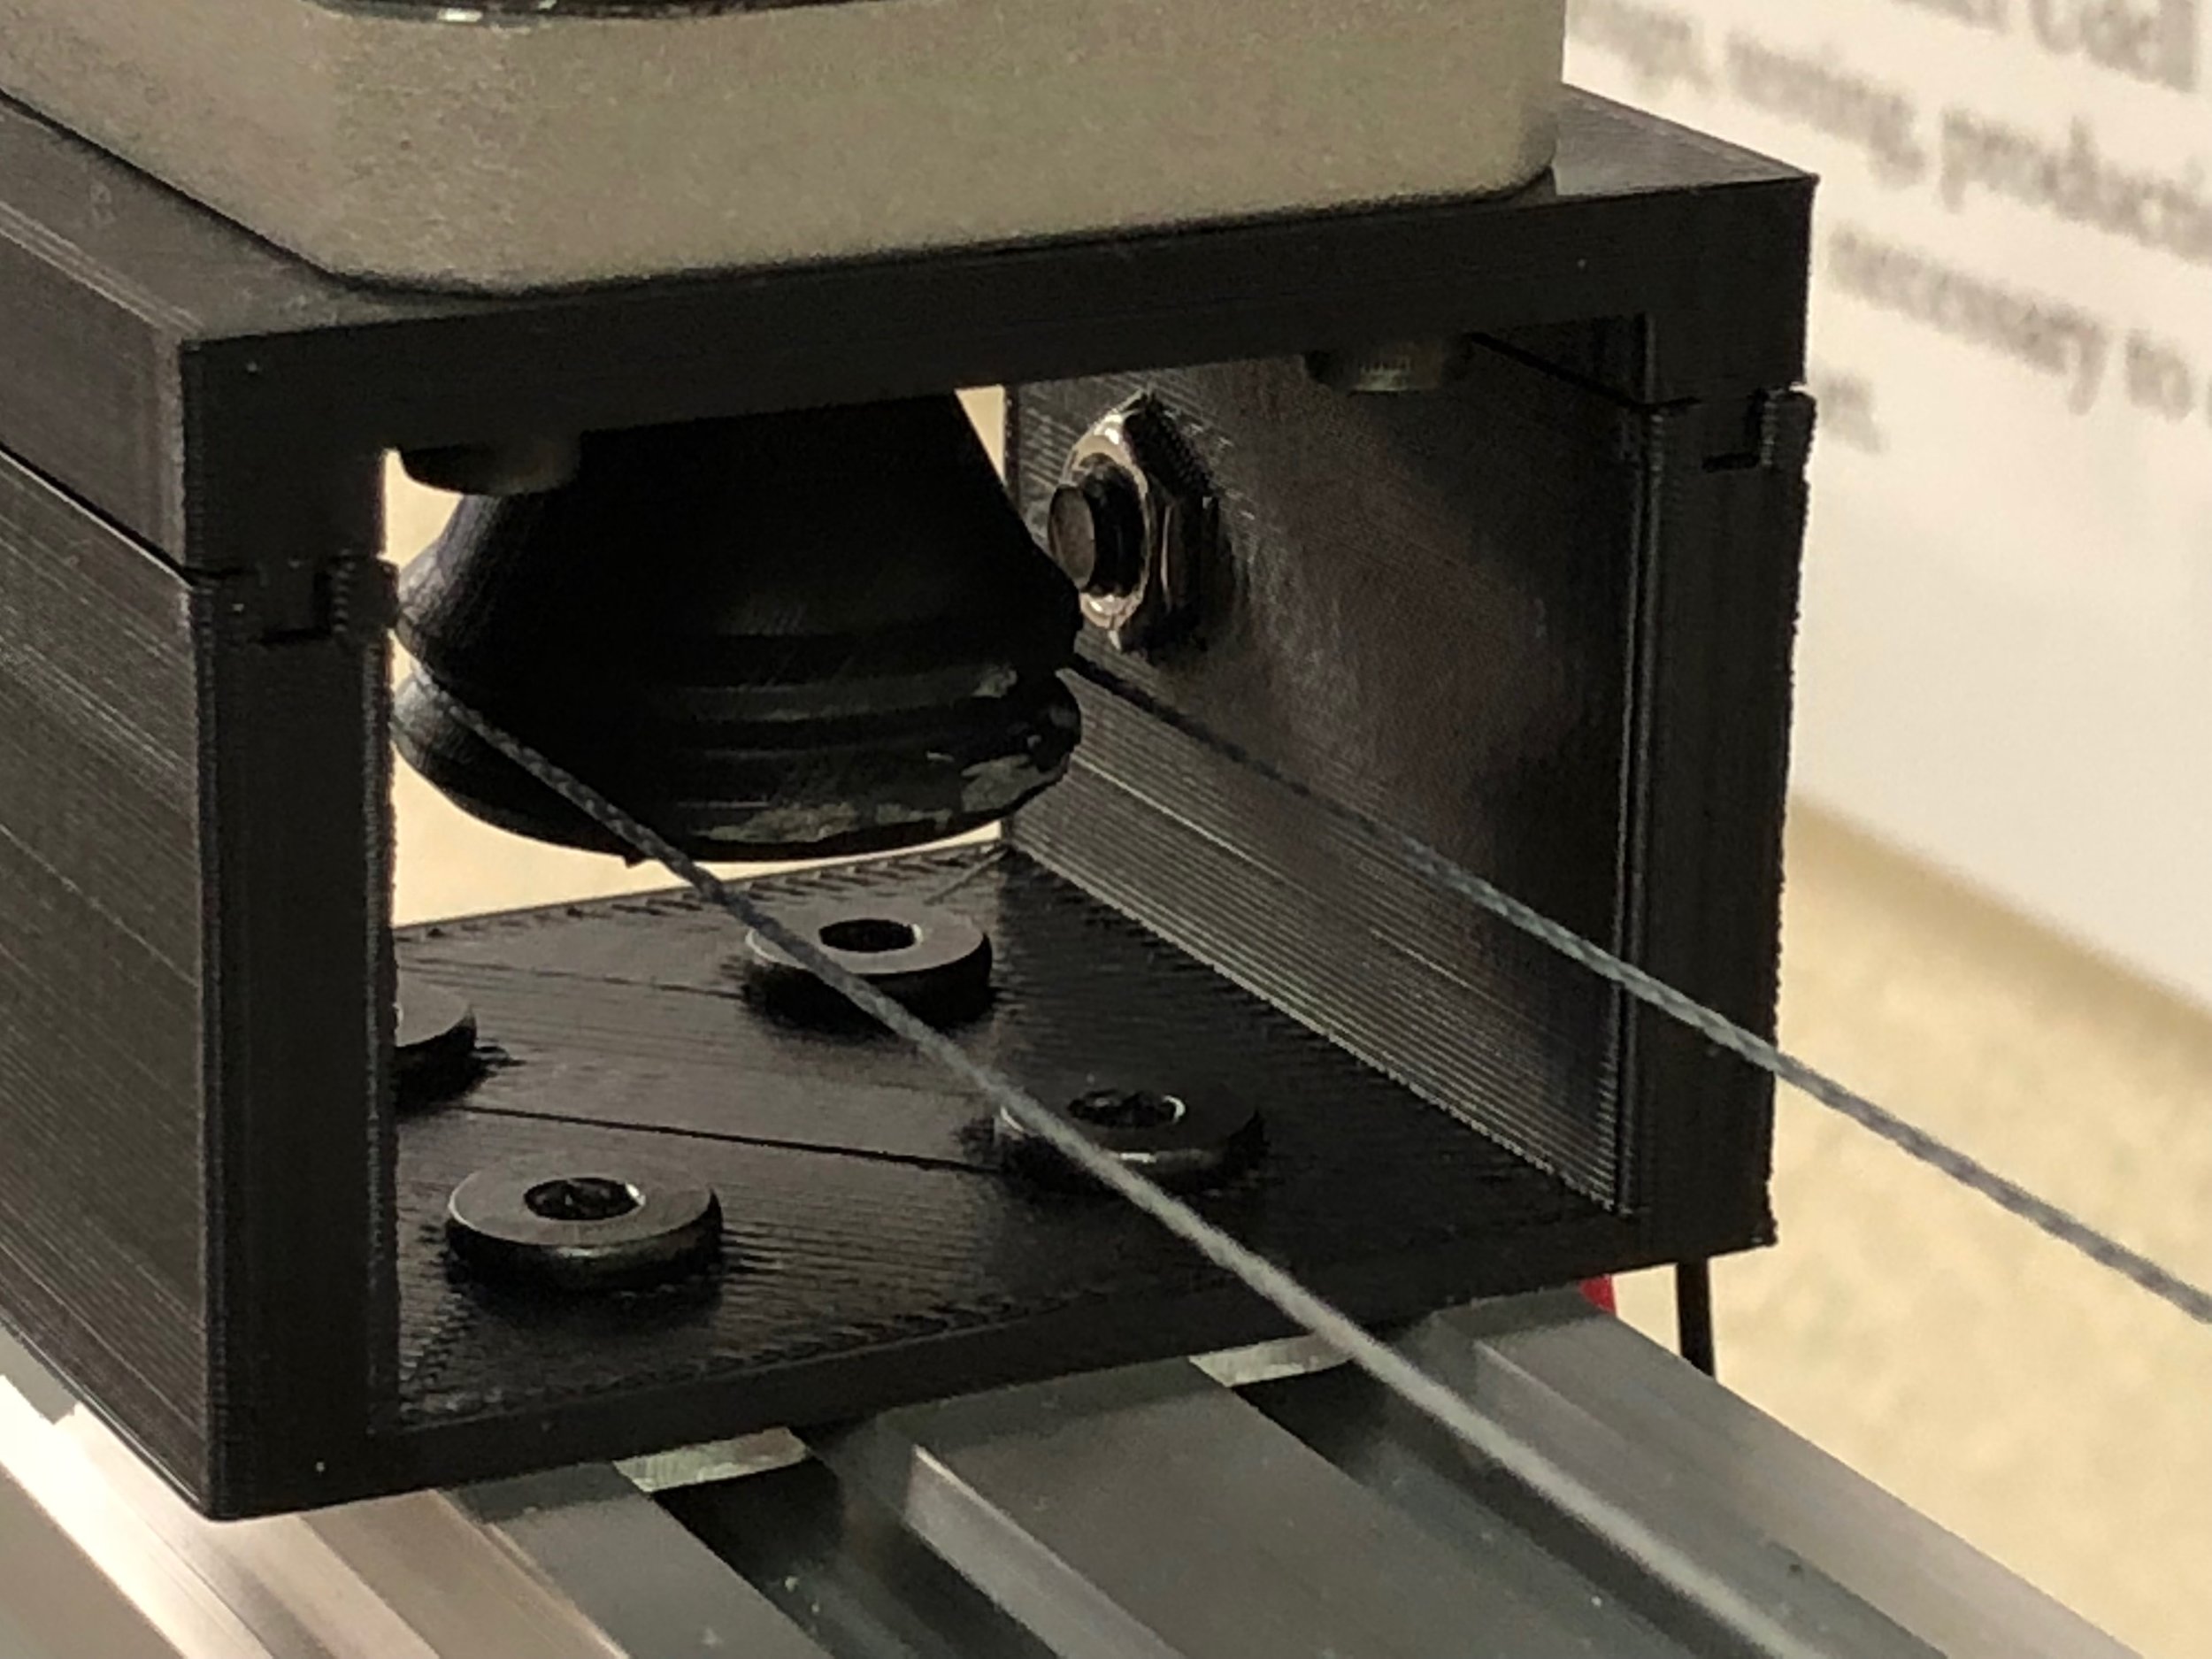
Old design for line spooling

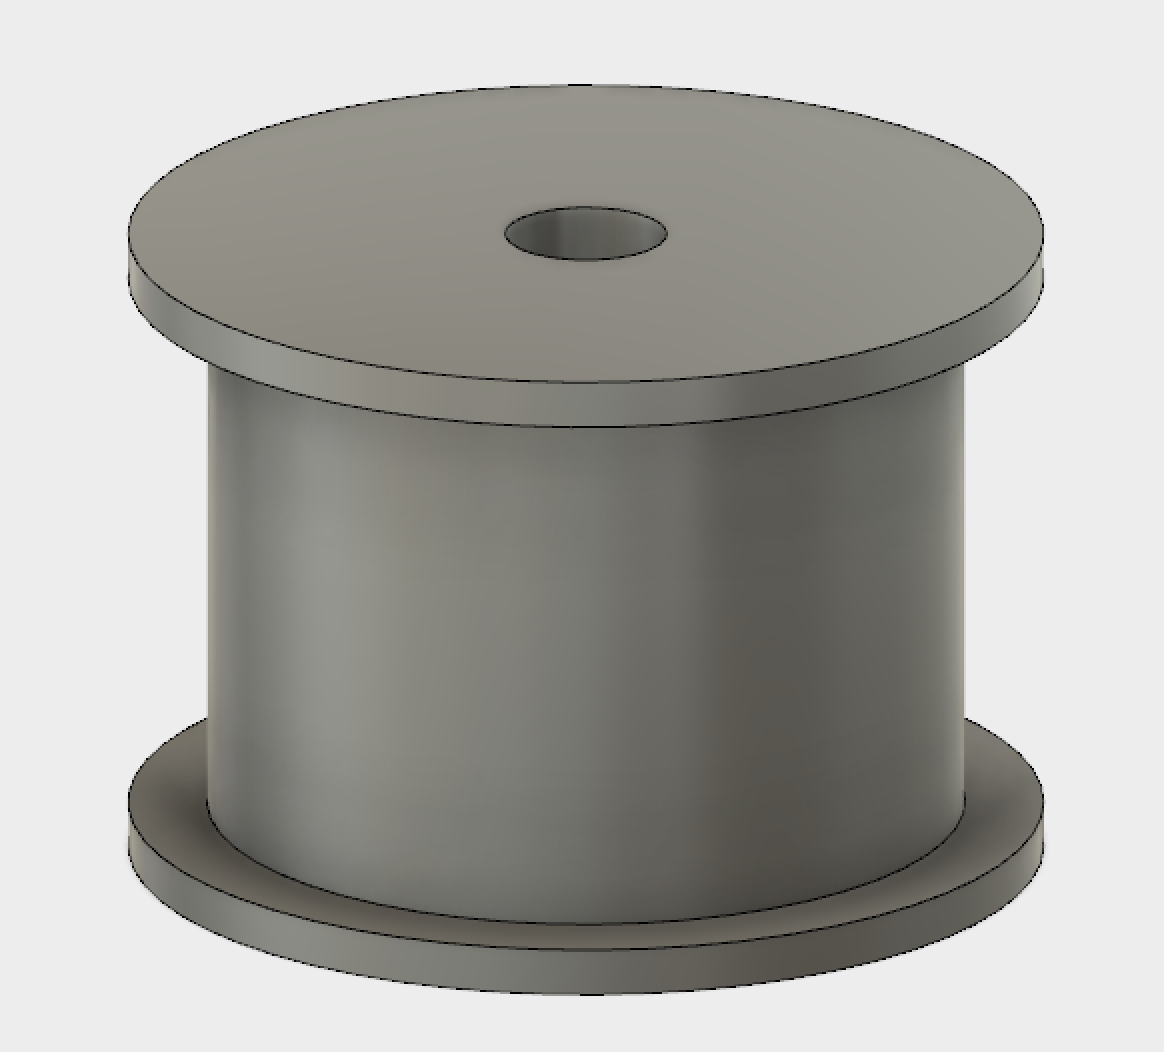
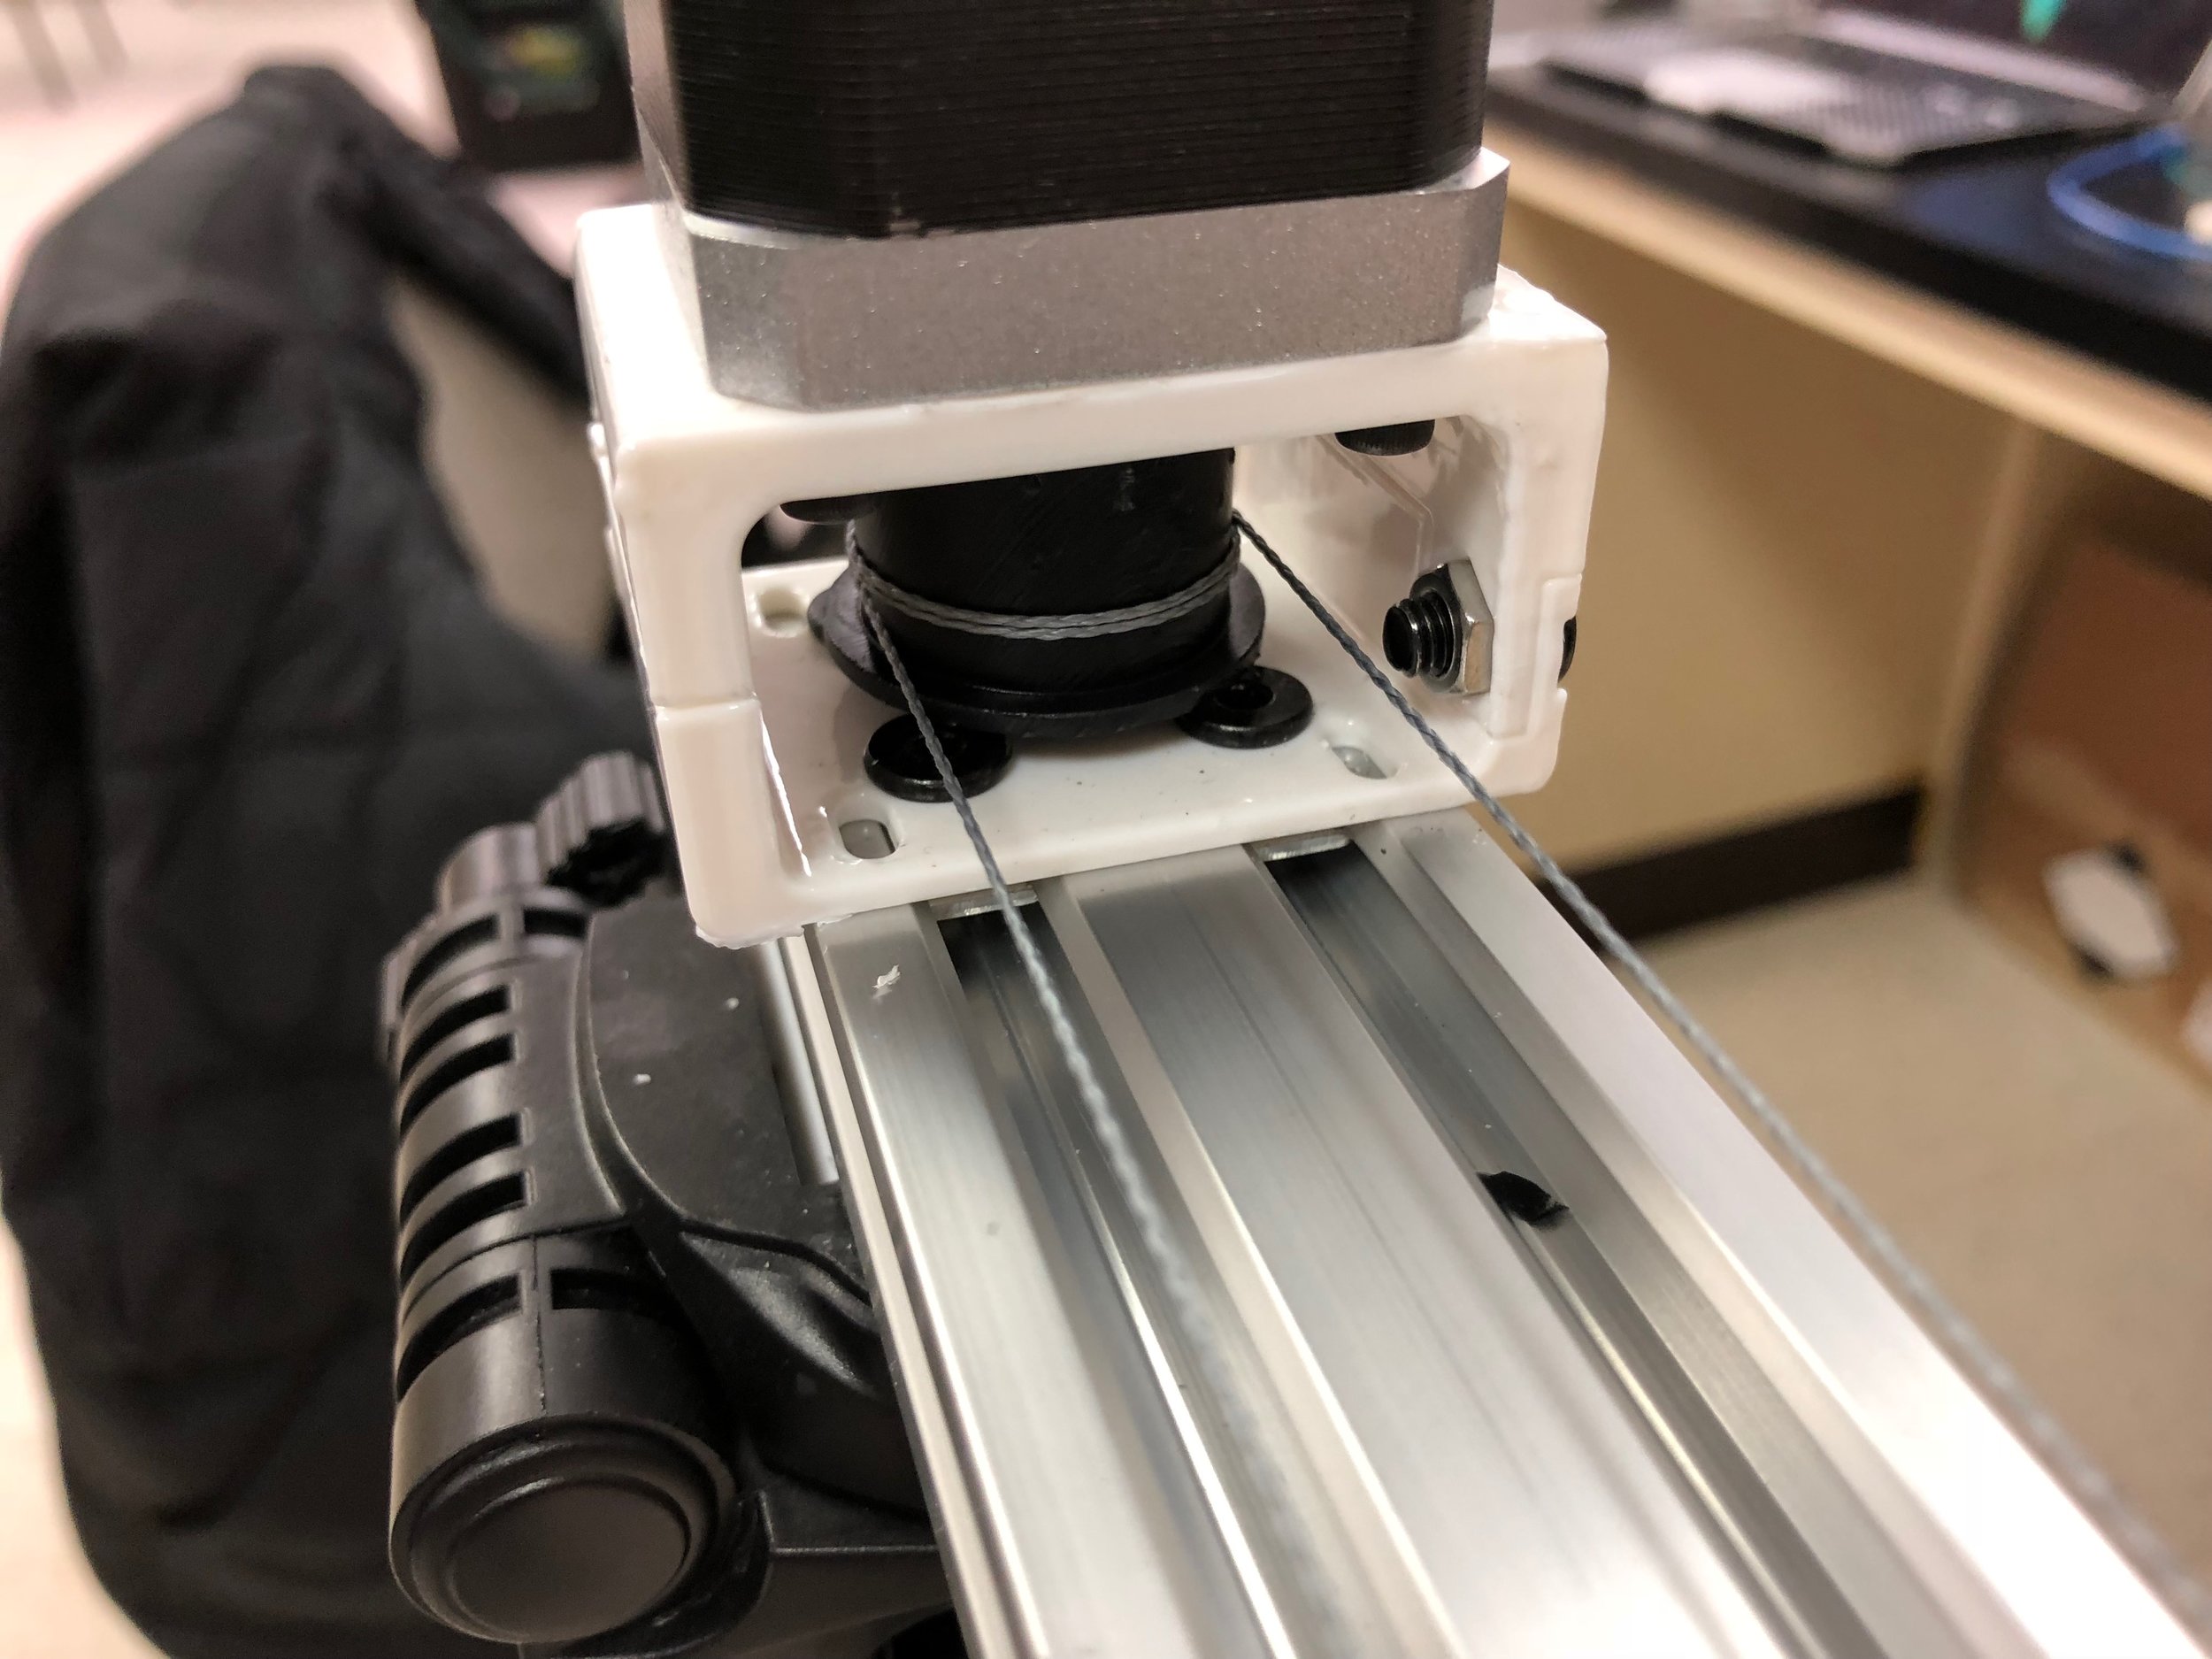
New design for the line
The old design actually spooled the fishing line on the plastic piece, the new one only guides the line around piece plastic piece and moves it using tension of the line.
Old prototype with only a couple of windings
New design with no windings
With this new design, the rail should work with any length of rail. I initially was testing the 1.5-meter long rail and that worked fine with the original design, but this new design worked for the 3-meter design and it looks like it would work for any size.
I will be testing the new design by doing an implementation of the rail in a greenhouse that is currently running some test on some plants:
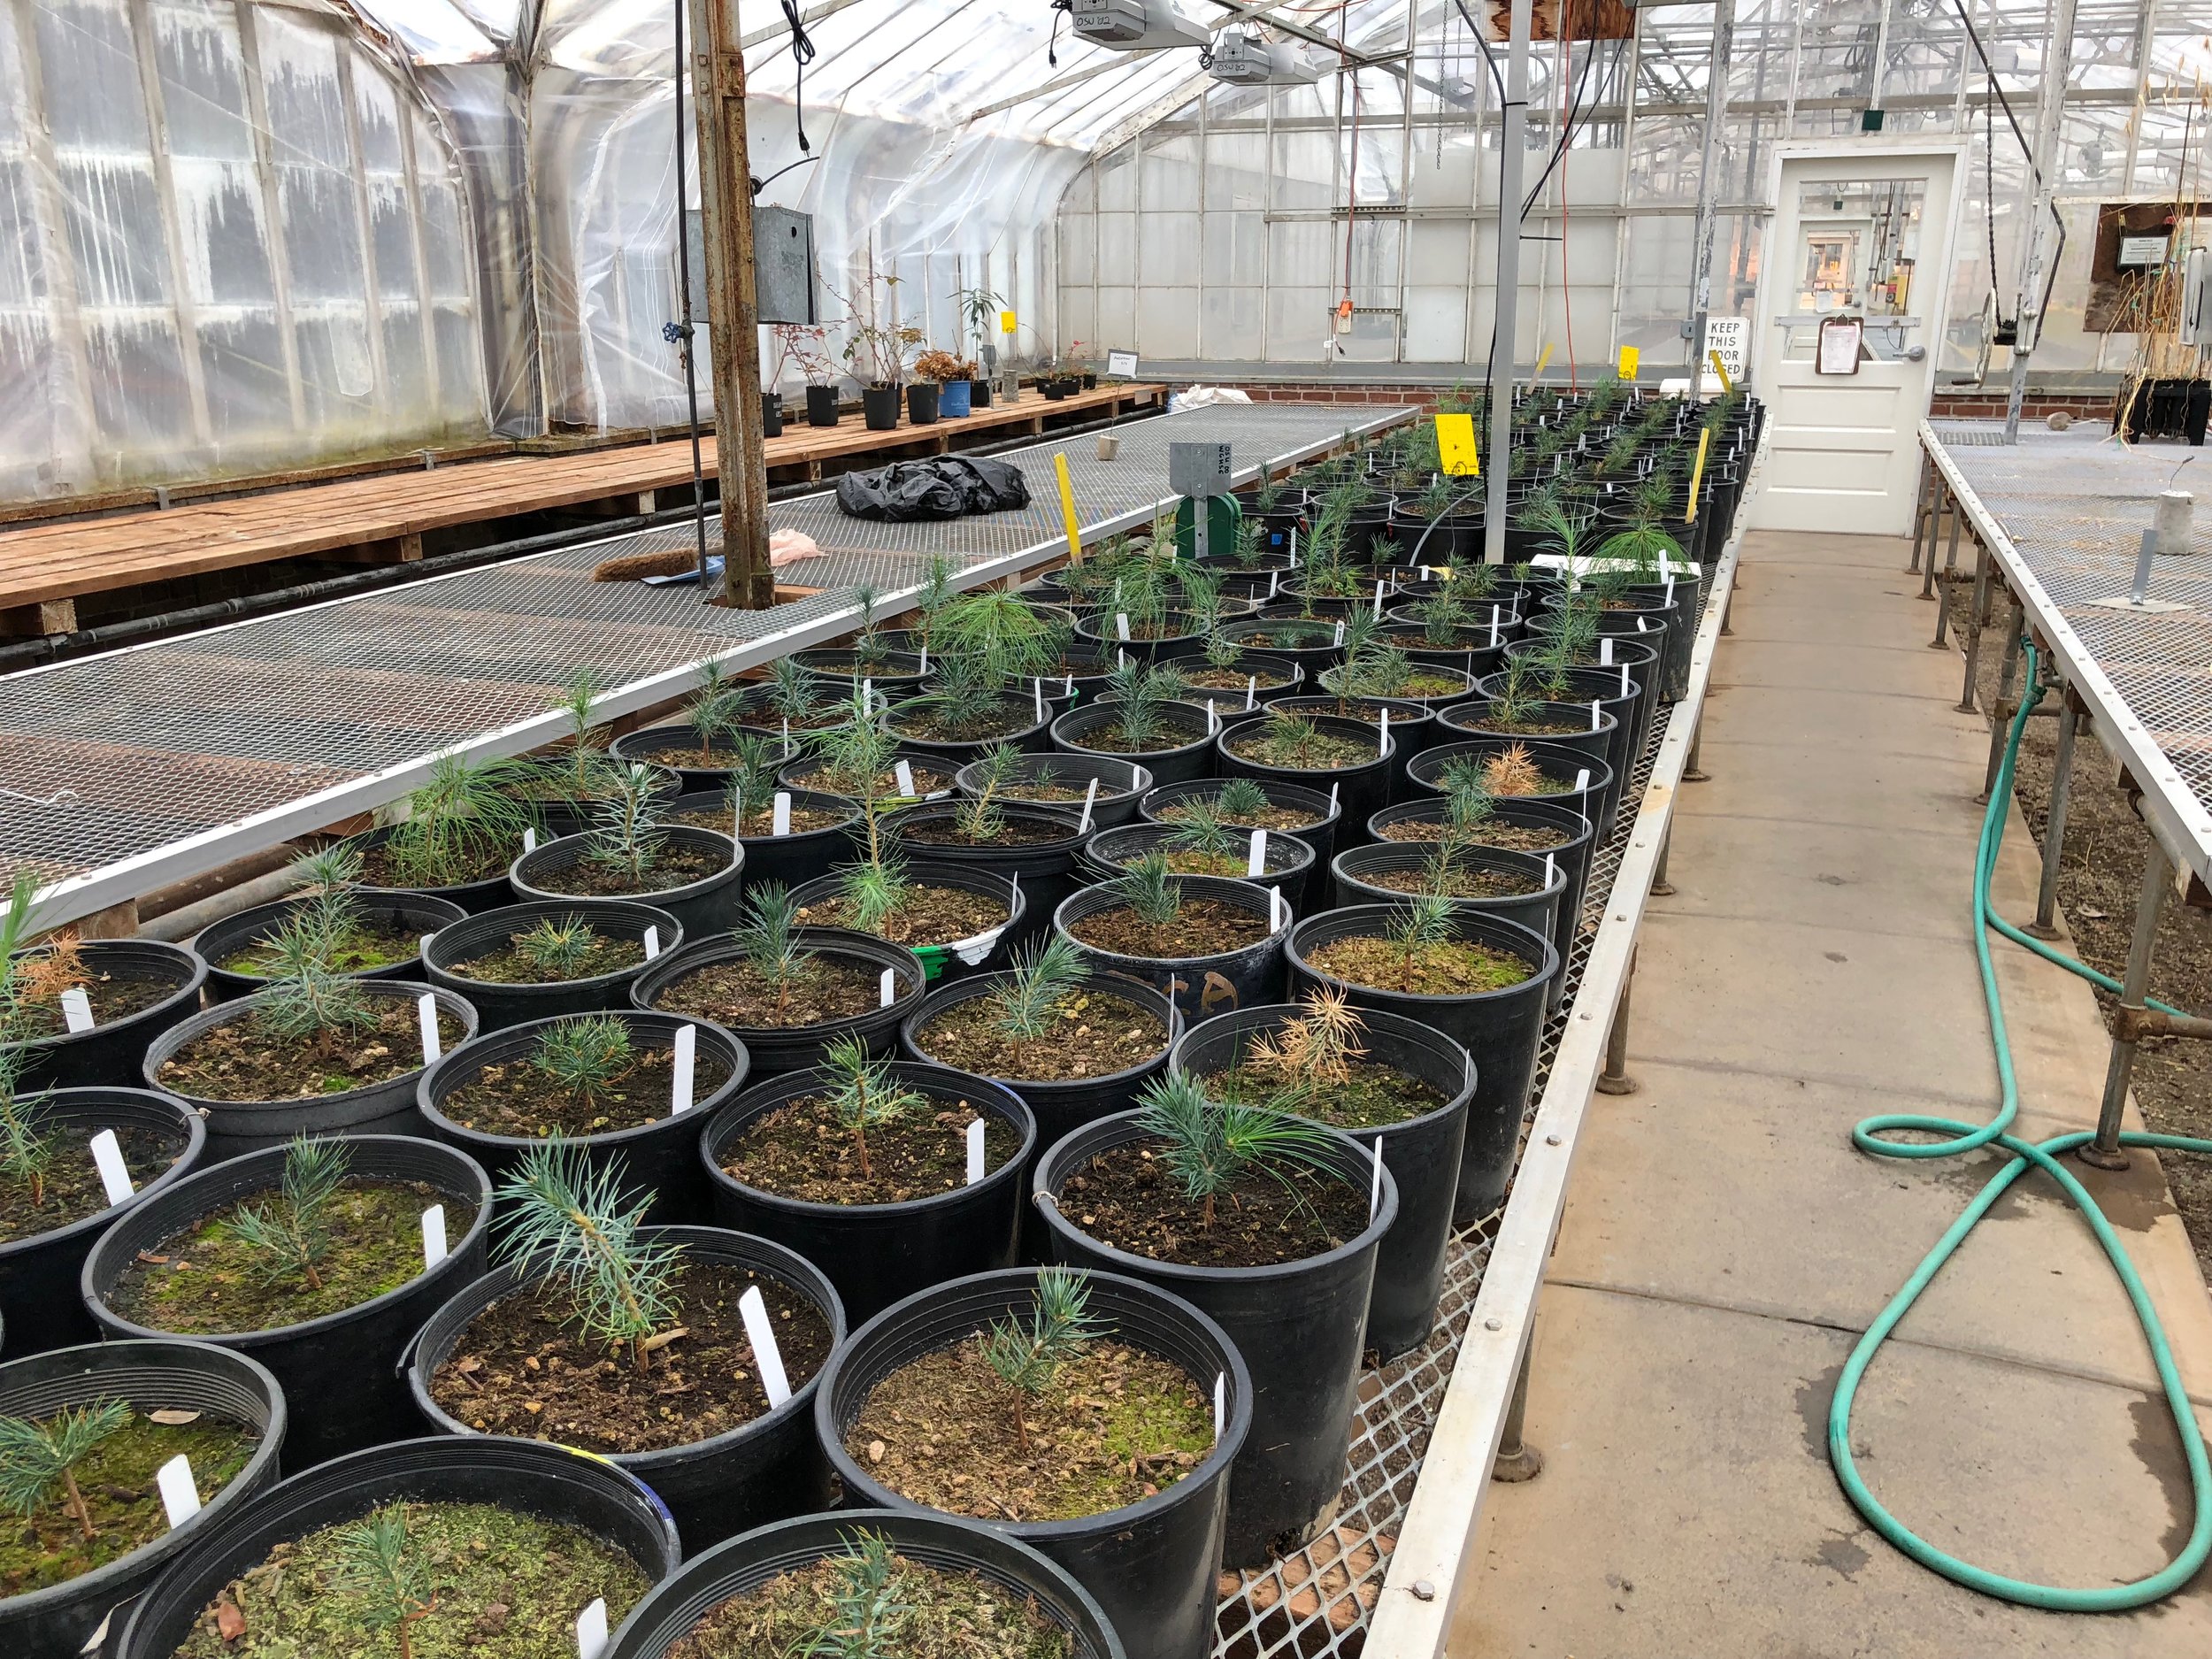
Greenhouse where plants are being kept and implementation site
One advantage of setting up the HyperRail in the greenhouse is that it has a metal structure running over the plants where we can attach the rail to. This takes care of the deflection problem that we were having. The rail can have as many supports as needed and not have to worry about having any significant deflection because of this.
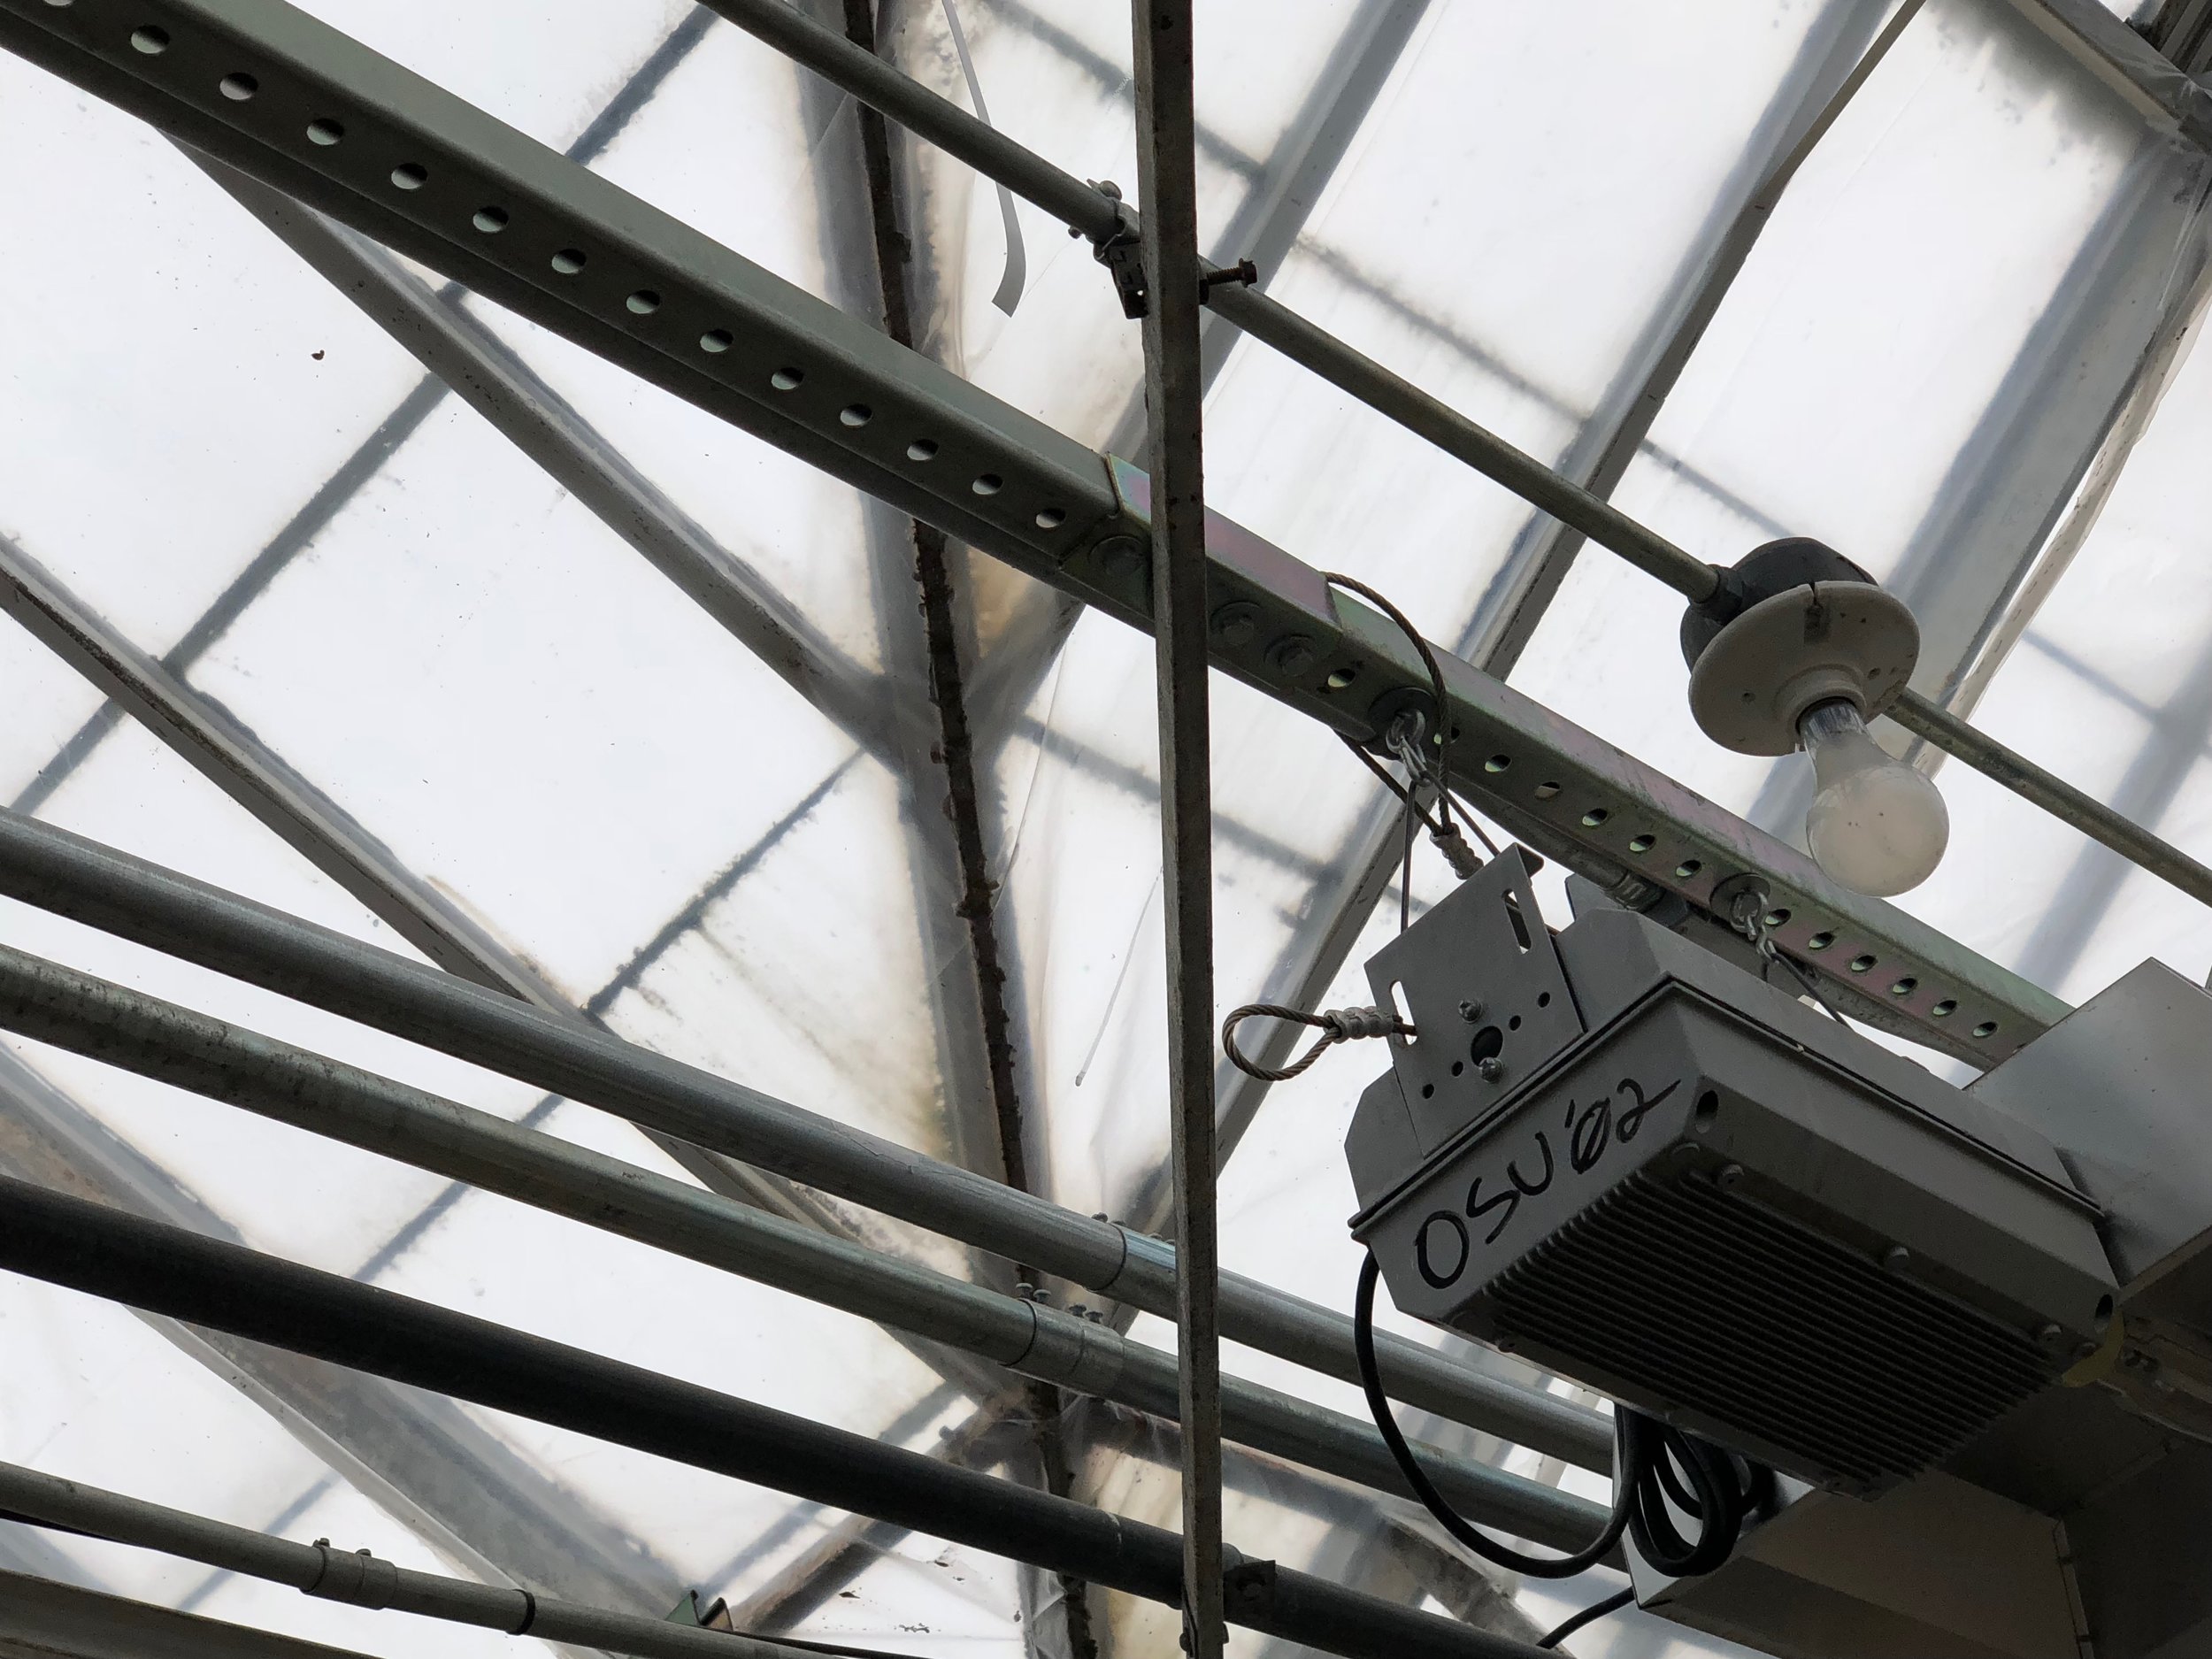
Metal structure where the HyperRail will be attached
This will work if the installation site has a metal structure, but if it doesn’t have one then using the tripod system will also work. Instead of having the supports be at end of the rails, I moved them towards the center by a quarter of the distance, this way the weight is better distributed and less deflection occurs as the carriage moves across the rail.

New setup of the rail supports
Conclusion:
Significant progress was done with the new designs. One future minor change is to fix the line tie. This is where the line goes gets screwed into the carriage. It keeps on breaking. In terms of hardware for the actual HyperRail, I think, it is pretty much done. The only other thing will be making the attachments for the metal structure for the greenhouse.

Line tie