
Abstract
WiFi Data Logging
For the last few weeks I have been working on using an Arduino Uno and a couple different ESP8266 WiFi modules for the purpose of logging sensor data in real time to a Google sheet and develop a network Gateway for all of our sensor devices.

The ESP8266 WiFi Module. The IOA’s internet!
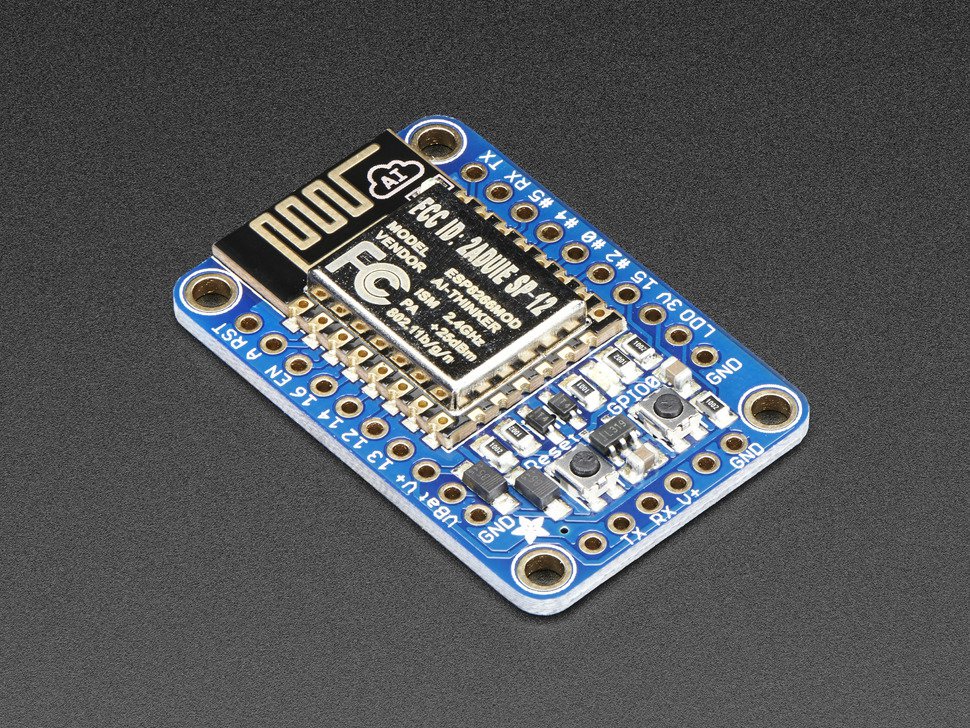
Hazzah! Breakout board variation of the ESP8266 Chip which eliminates the need for wire wraps, external voltage regulation, and has expanded communication capabilities.
The ESP8266 WiFi Module is a self contained SOC with integrated TCP/IP protocol stack that can give any microcontroller access to a WiFi network. The ESP8266 is capable of either hosting an application or offloading all Wi-Fi networking functions from another application processor. This function is most important for this particular project and will be used as gateway to log data straight to the internet.
Methods
Working around Secure Connections
Google Forms requires a secured connection (SSL) but the Arduino (Or autonomous huzzah board) doesn’t have enough power/memory to create SSL connections. We will use a third party Application program interface, PushingBox to work around this.
PushingBox API is really simple in concept and in practice. To launch a “scenario” of notifications you can send an HTTP request . The only argument you should attach is the DeviceID (details on how to find this found below in a link) . This is the unique key that identify the scenario you want to launch. The DeviceID can be found on the Scenario Page.You can also put more arguments to define customs notifications text using your own variables which is what we will do to allow sensor data to be uploaded to a google sheet.
This allows PushingBox to confirm the secure connection needed for google to begin passing on data uploaded from the Arduino. All this in real time. A more indepth explanation of this process can be found in a Hackster.io tutorial found here.
Setting up the Google sheet
Another important aspect of this project was to prepare the google spreadsheet for the data it is about to receive. This is done in a google G-script (similar to java) and the instructions on how to do this can be found here. This step is a bit technical and requires some patience while working through.
Data, Links , Projects, and References
Wiring and other example projects the OPEnS lab has worked on can be found here.
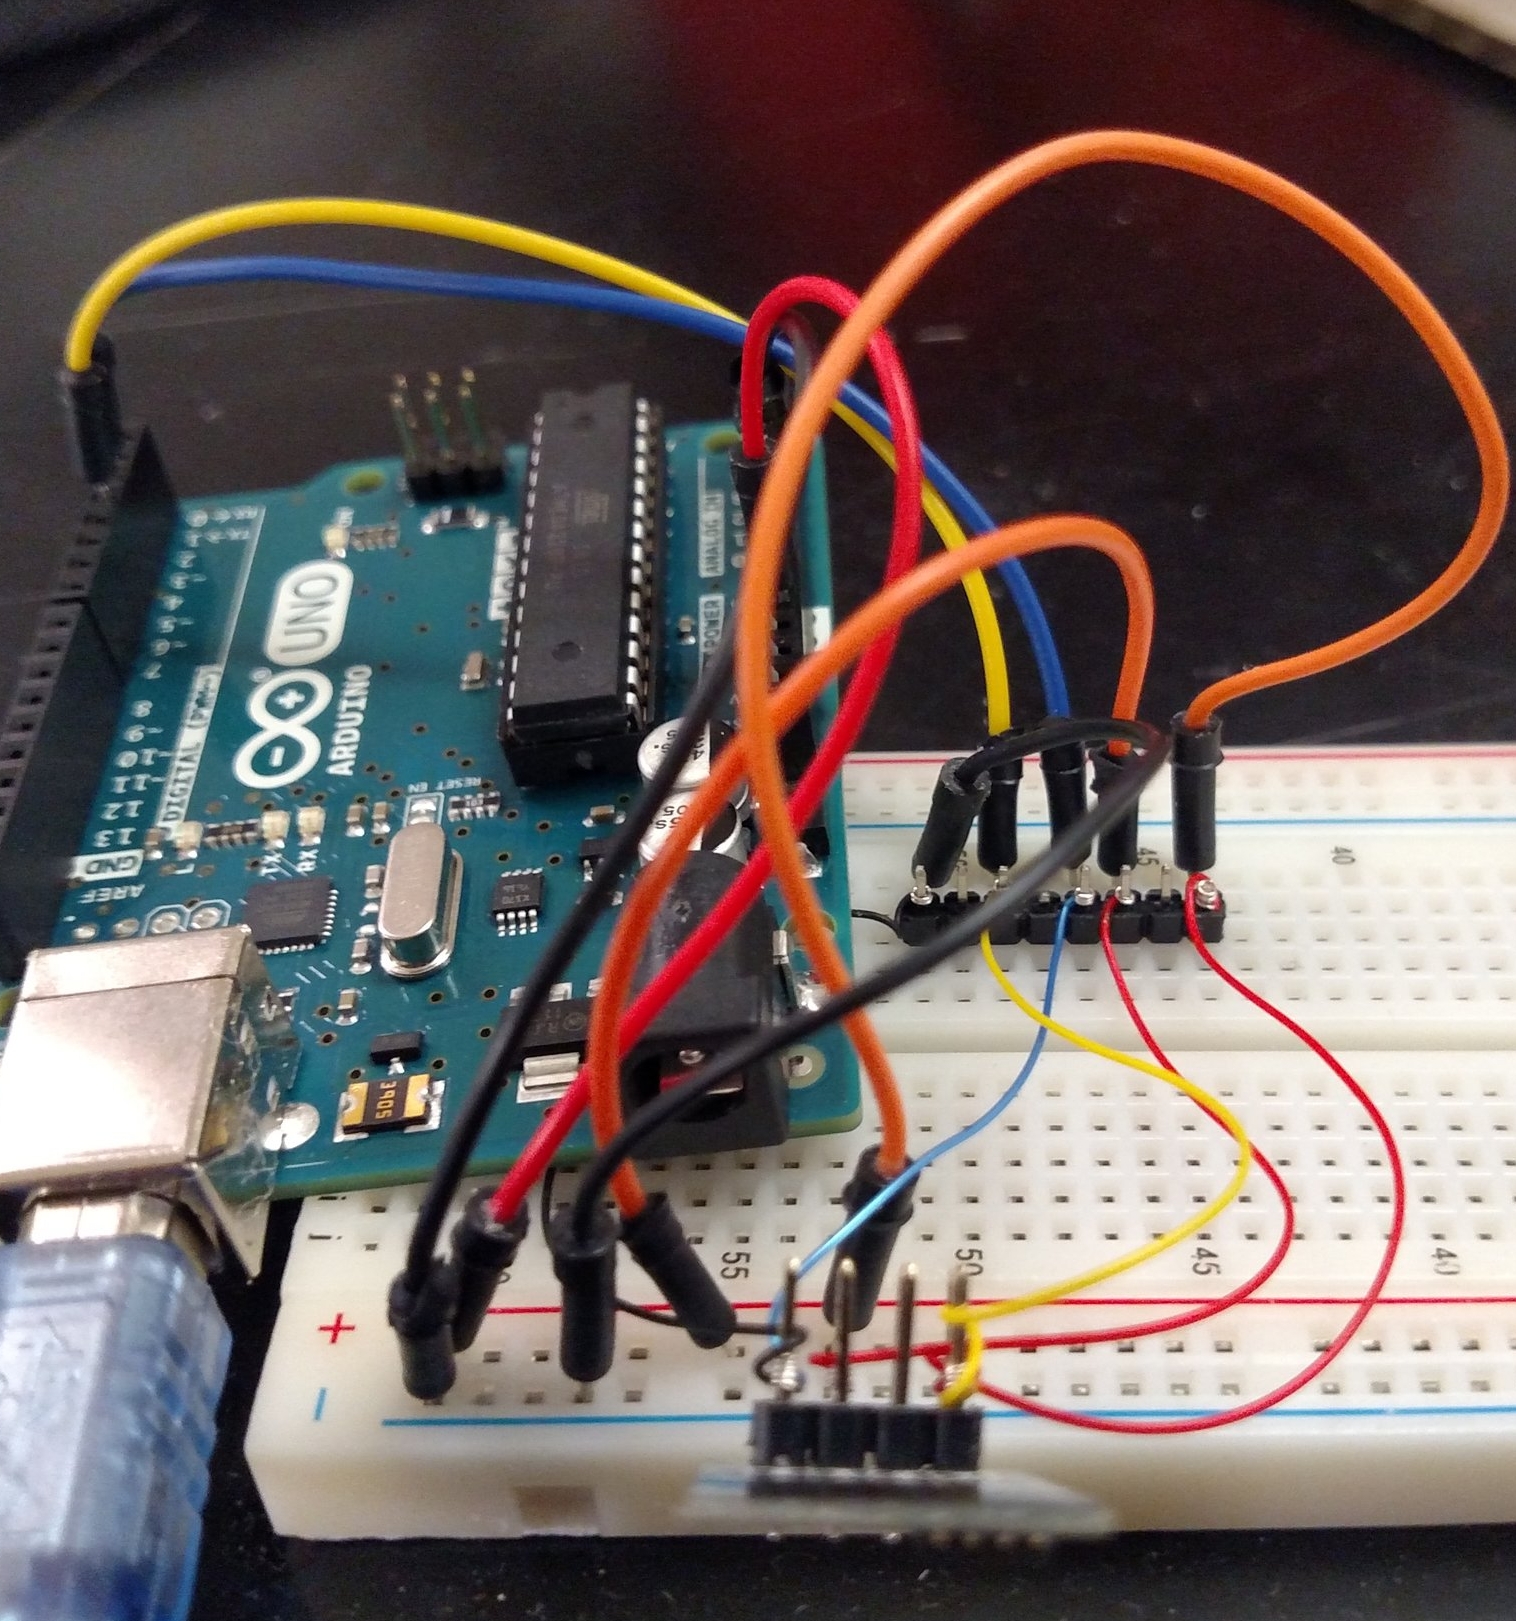
Original ESP8266 setup running through an Ardiuno Microcontroller.
***Important note***
If you are using the older ESP8266 chip it is important to have an external voltage regulator. (This problem was resolved in the Hazzah board which contains an internal voltage regulator)
On Arduino Uno, / Mega the 3.3V regulated output is able to supply 150 mA max. The ESP8266 draws up to 500 mA and could damage the Arduino.
Add a 3.3V Voltage regulator such as LM1117-3.3 to power the ESP.
A helpful diagram to reference can be found here.

Hazzah Board being flashed using a FTDI cable
Note: On the Huzzah Breakout Board, the module must be put into bootloader mode described below before you can upload a sketch from the Arduino integrated development environment (IDE).
- Hold down the GPIO0 button, the red LED will be lit
- While holding down GPIO0, click the RESET button
- Release RESET, then release GPIO0
- When you release the RESET button, the red LED will be lit dimly, this means its ready to bootloader
Then in the upload the sketch found here with the appropriate libraries found here.
Specifics on how the pinout and wiring differs for the Huzzah breakout board can be found on the adafruit site here.
Conclusions and Results
After much frustration and hours of tweaking code for the ESP modules and G-Script, I was successfully able to hardline pseudo data from the microcontroller, through the ESP module to Google sheets via the PushingBox API. This ability really opens up an expanded capability for our sensors that are in developed and will prove to be an integral part of the OPEnS lab remote sensing.
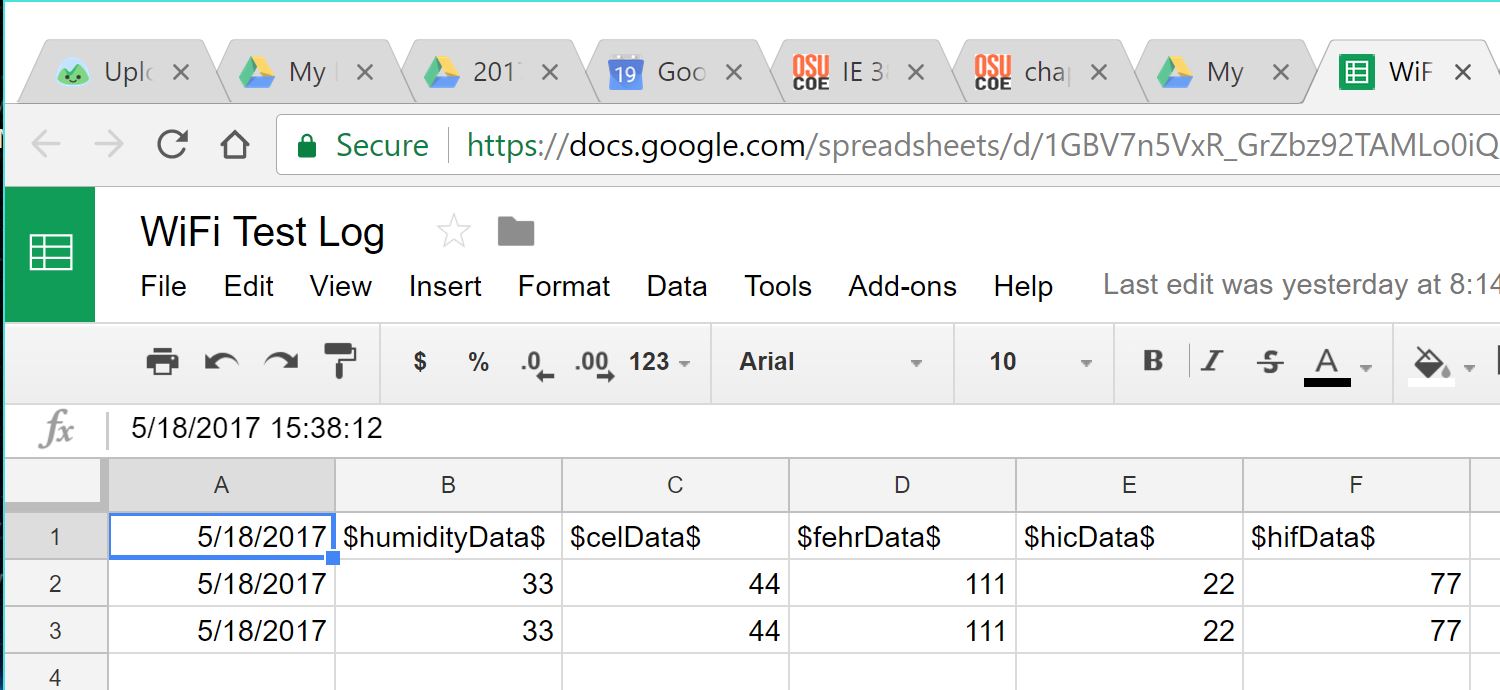
Pseudo data from the Arduino was successfully pushed the the Gateway generated by The PushingBox API to Google Sheets
Extension of Work
The next step in this project is going to be integrating this data logging interface with data transmitted from the LaRo Radio module. This project will continue in the coming weeks in collaboration with Marissa Kwon.
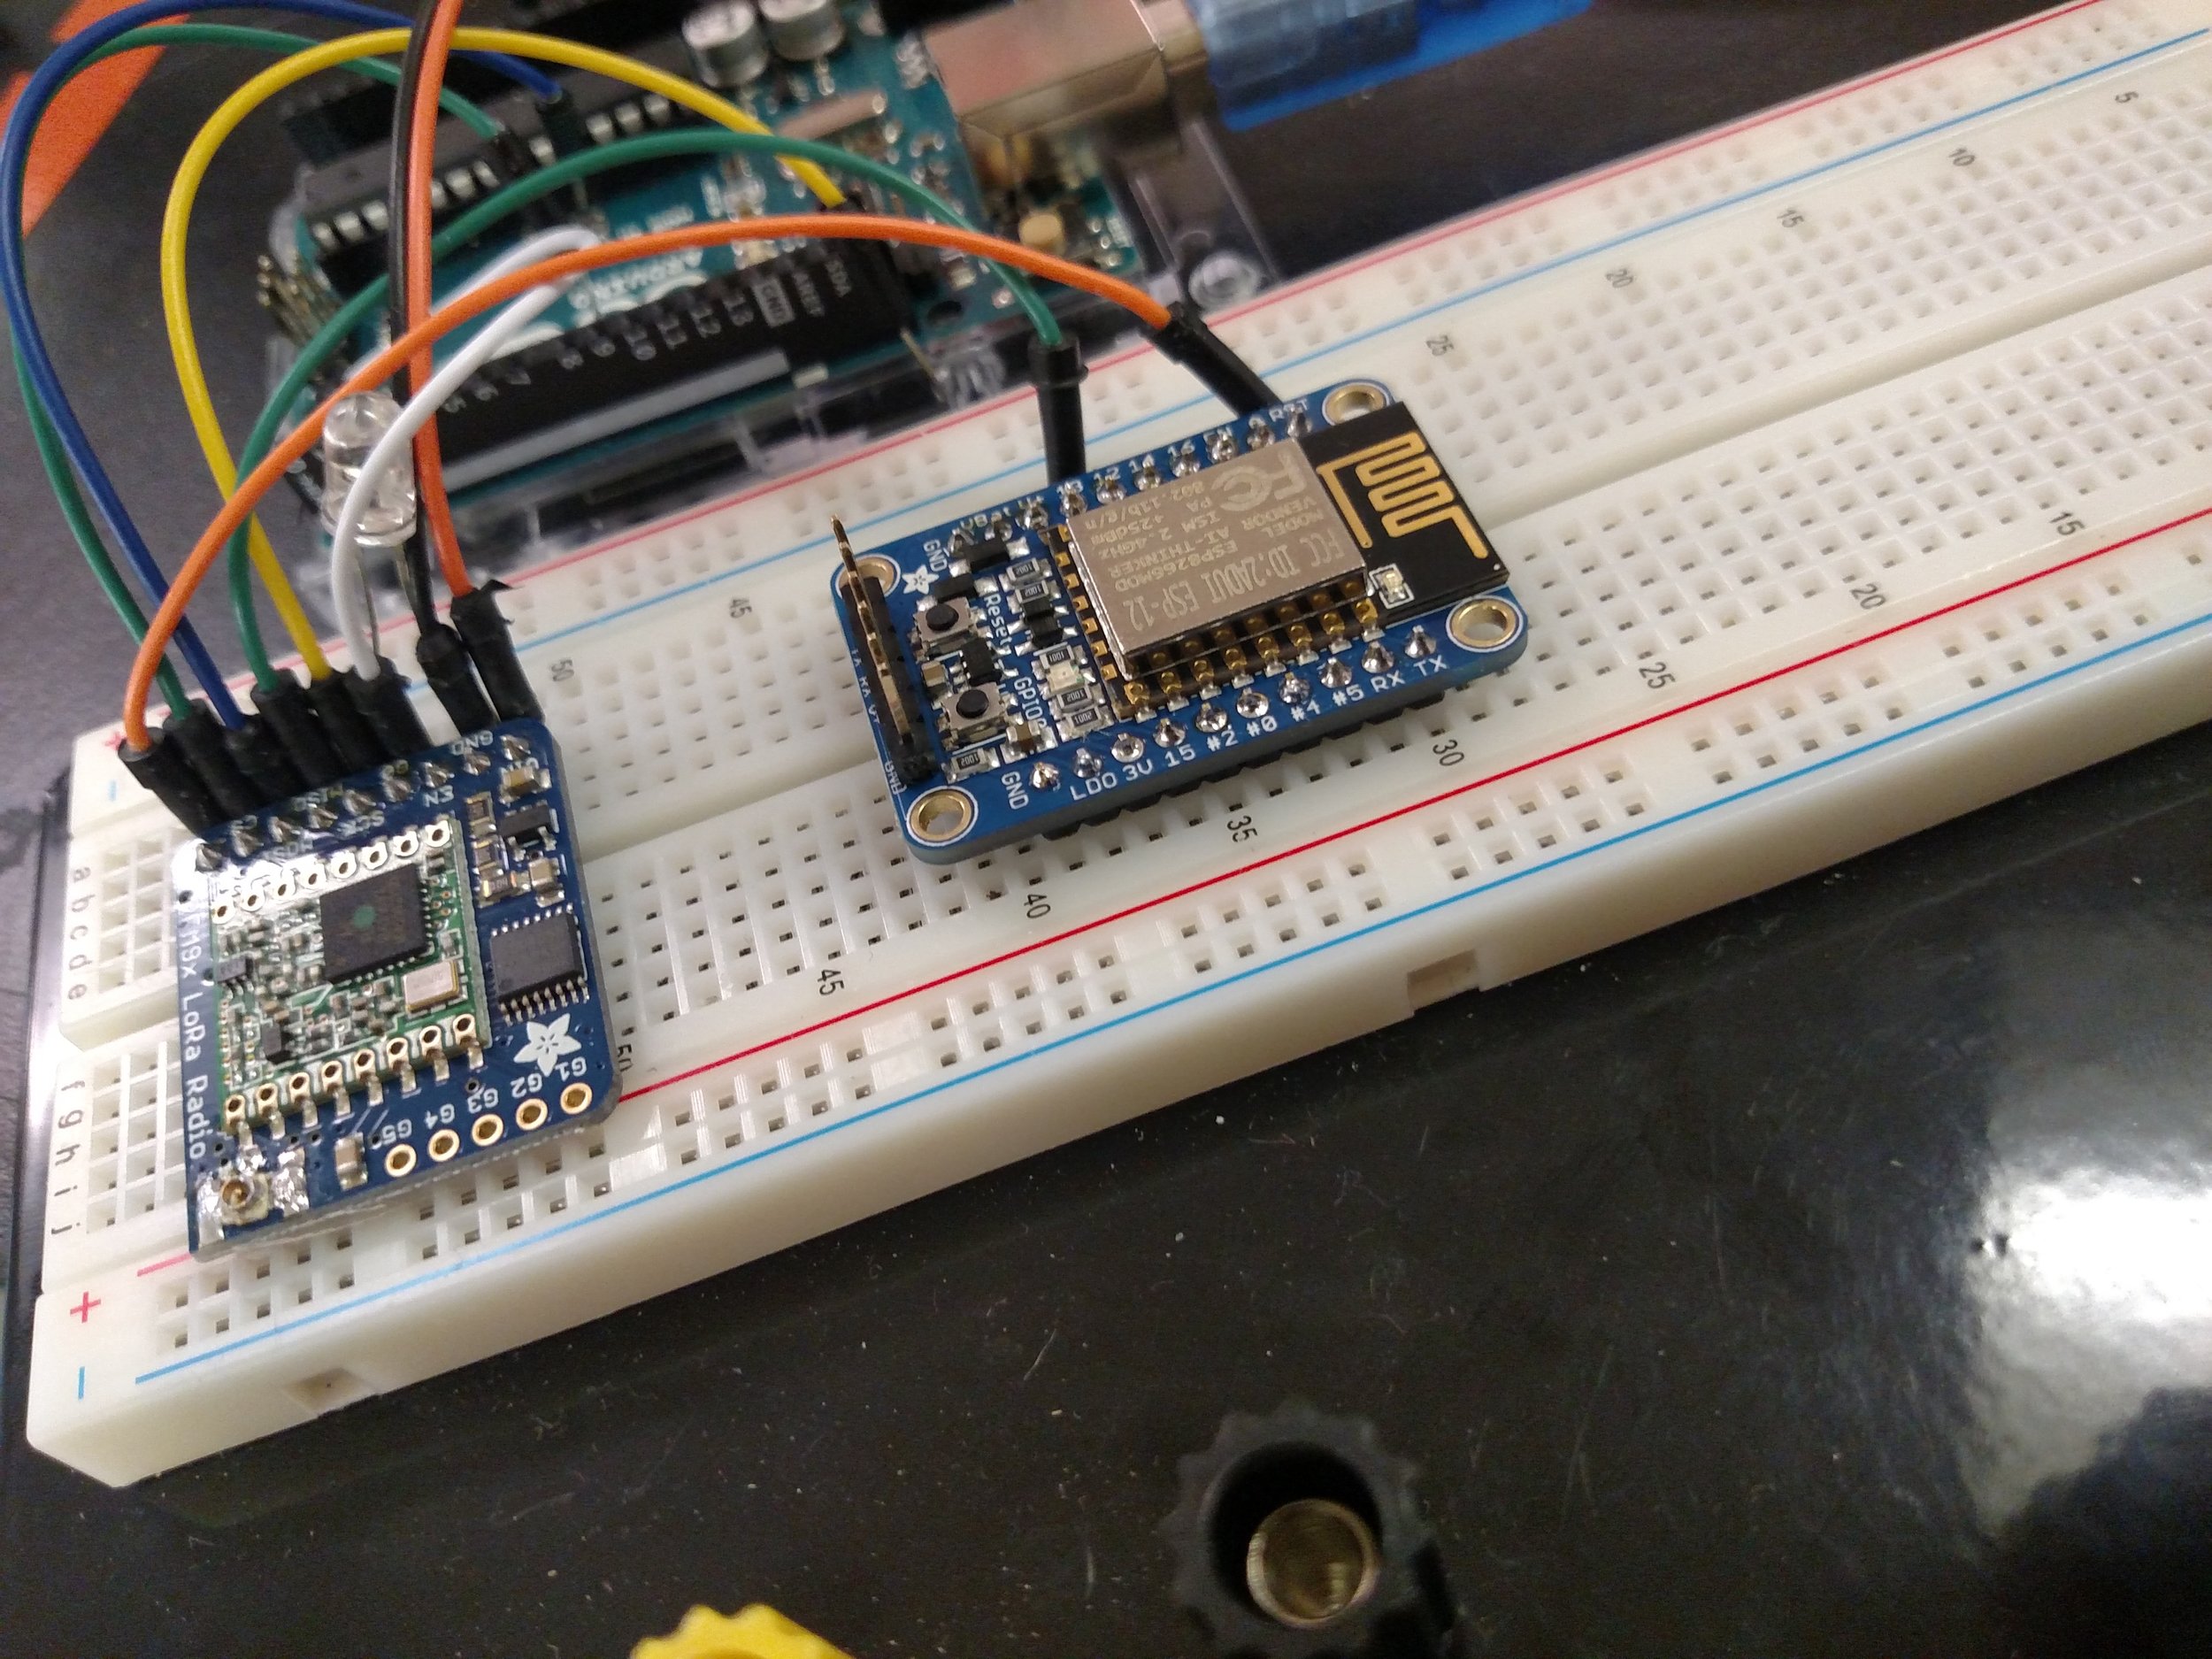
Work on integrating the LoRa radio receiver and the Huzzah ESP8266.
– Tom DeBell, Beginning Researcher Support Program Researcher