Abstract: The TSL2561 and TSL2591 are Ambient Light Sensors (ALS). Both of these sensors are good, but there are some differences between them that would change the implementation of the Albedo sensor. This post intends to explain why we chose the sensor that we did.
Sensors:
Here are links to the two datasheets of the sensors:
TSL2561
TSL2591
If the links do not work, you can find the sensors on the Adafruit website by searching TSL2561 and TSL2591.
They both have a broadband photodiode, that includes both visible and infrared, and one dedicated infrared photodiode. It is quite obvious that the TSL2591 has a higher count from the ADC per channel and in turn will be more sensitive to light change. For our purposes, we need a sensor that is going up and one that is going down. Having the higher sensitivity of the TSL2591 would be great, but the limitation to this sensor is that the sensor can only be configured to a single address meaning we can only use one. On the other hand, the TSL2561 has more than one address that can be used; this also means that we can include two sensors for the albedo configuration without the need of extra circuitry such as an I2C multiplexer. For this reason, we will be using the TSL2561. To be able to perform the albedo calculation, it is just necessary to have 2 sensors outputting the same kind of data out. This means that we can go ahead and use the TSL2561 and it should be just fine.
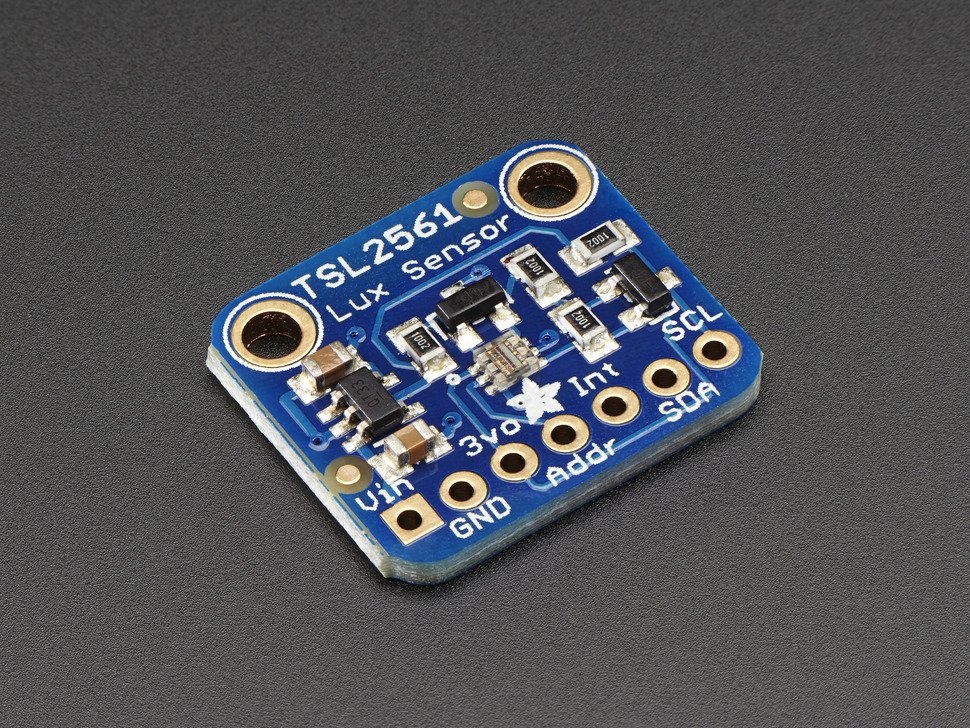
TSL2561
Conclusion:
The TSL2561 is sufficient for our albedo sensor. The major upside is that we can use two sensors; this is because of the multiple addresses that the sensor can be assigned. The only downside is that it is not as sensitive to light as the TSL2591, but this should be not a problem as we only need two reliable sensors outputting the same kind of data to be able to perform the albedo calculation.