Author: Jonah Siekmann
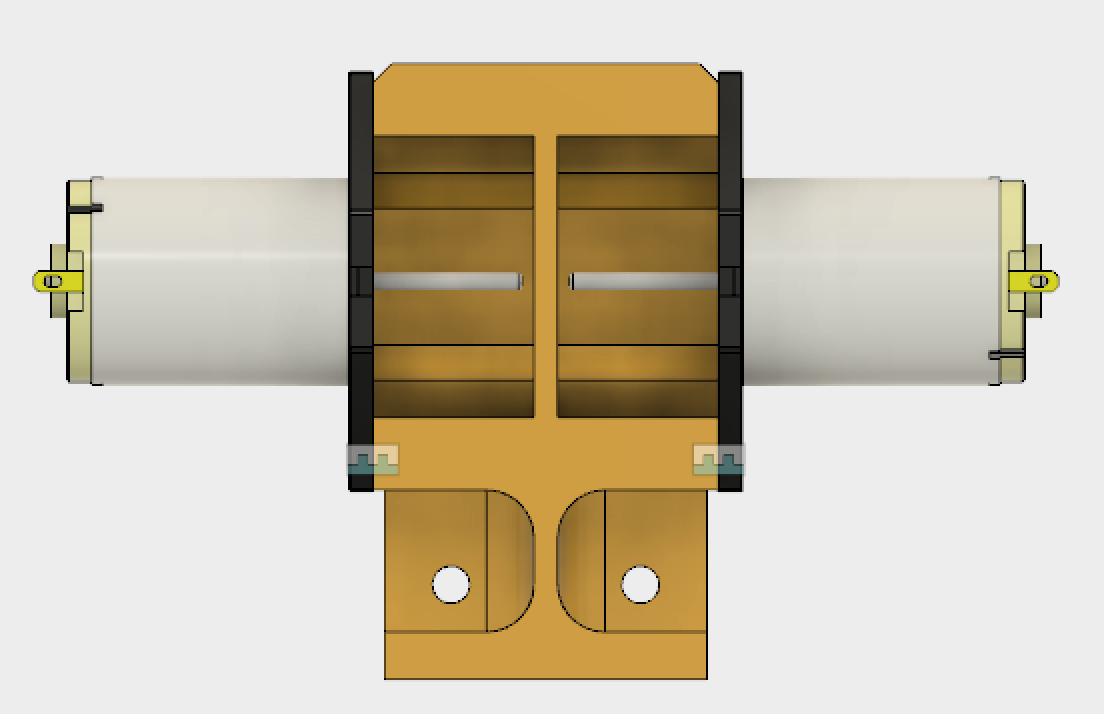
For this project, we’ll need to construct a drone that will carry the RFID reader around a crop field. It’ll need to remember the locations of every new RFID ‘Dogbones’ moisture sensor it encounters, and store the GPS coordinates so that it can return to the sensor later. We’re not sure yet how much weight it’ll need to carry, which leaves a lot of the the specs of the drone up in the air. We’ve come up with a general parts list, however, which includes the following:
CC3D Flight Controller
750KV Motor (x4)
30A ESC (x4)
4000mah 3s battery
12×4.5″ propellors
650mm frame
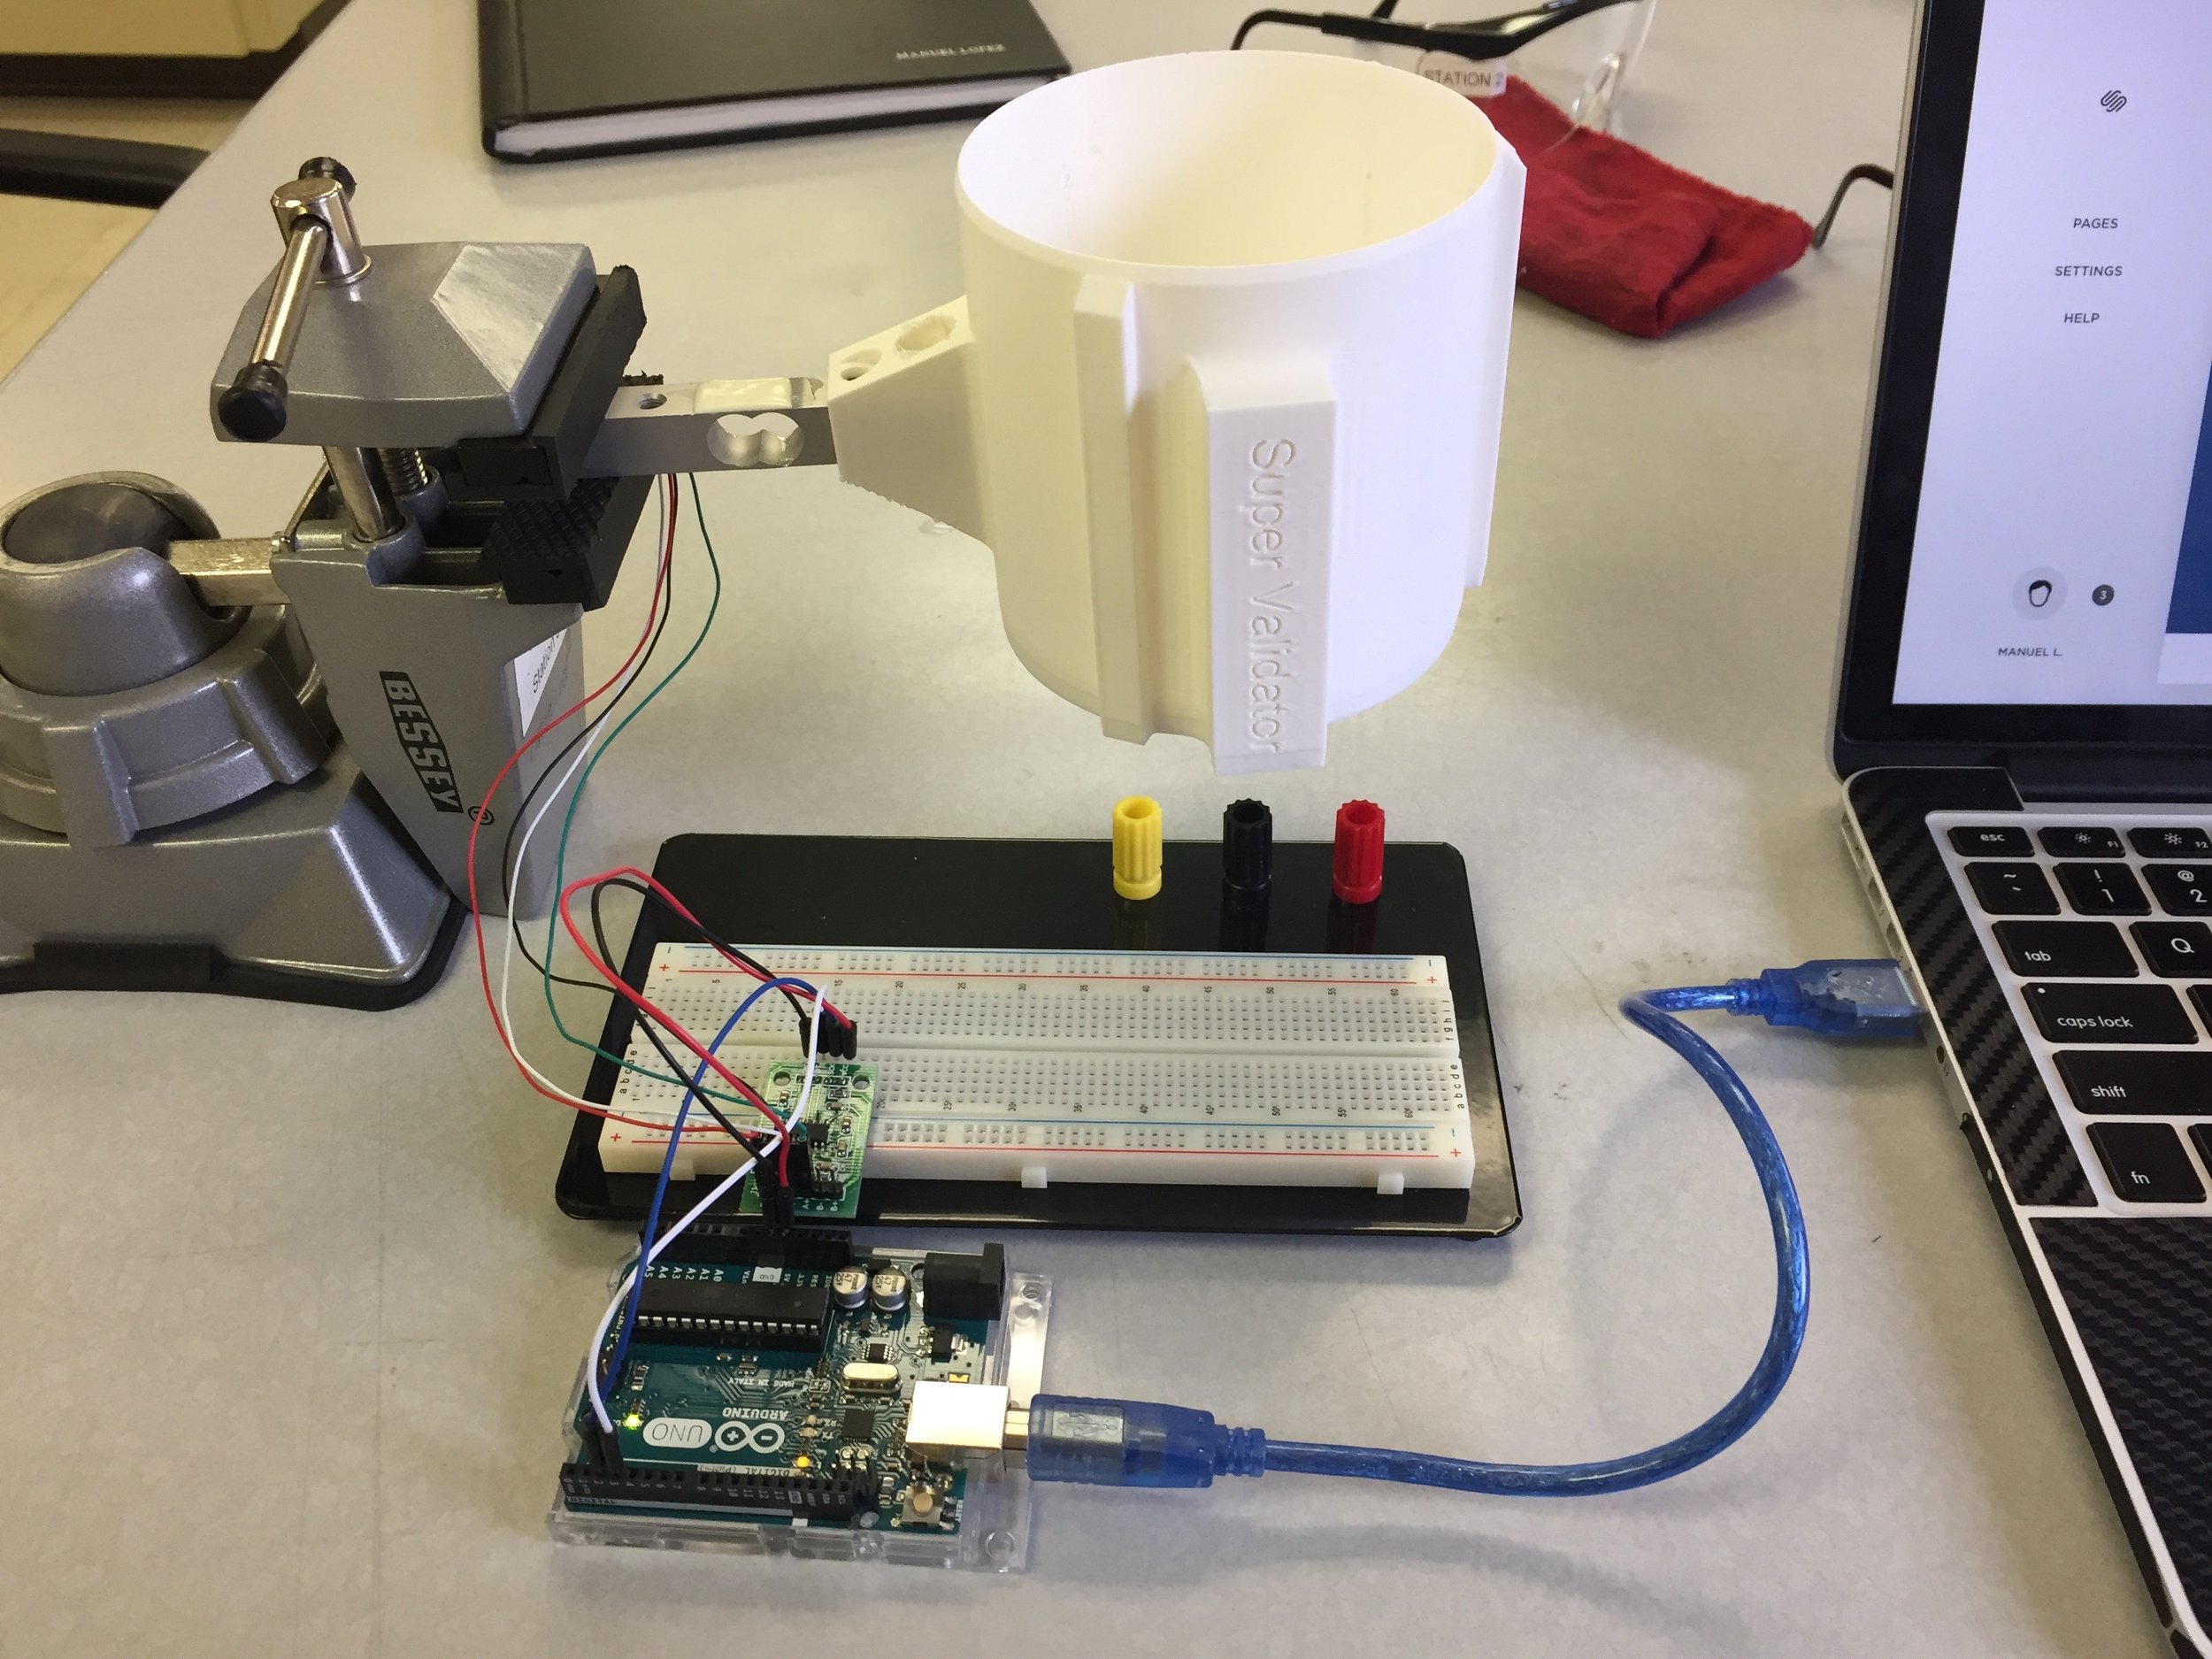
Arduino Uno
GPS module
RC Transmitter/Receiver
Our idea for flying the drone autonomously involves hooking up the Arduino to the CC3D flight controller’s RC receiver pins, and simulating the 1000-2000us pulses that the flight controller would expect from a receiver with the Arduino. This way, the CC3D flight controller does all the low-level attitude hold and hovering work, while the Arduino is free to read the GPS sensor and control the position of the quad by pretending to be an RC receiver.