Abstract: We have been looking for a way to seal our enclosures so that water can’t get in. In response to this problem, we decided to use cork to try to solve this problem. This post is just a brief description of what the design looks like and the settings used to cut the cork.
Design:
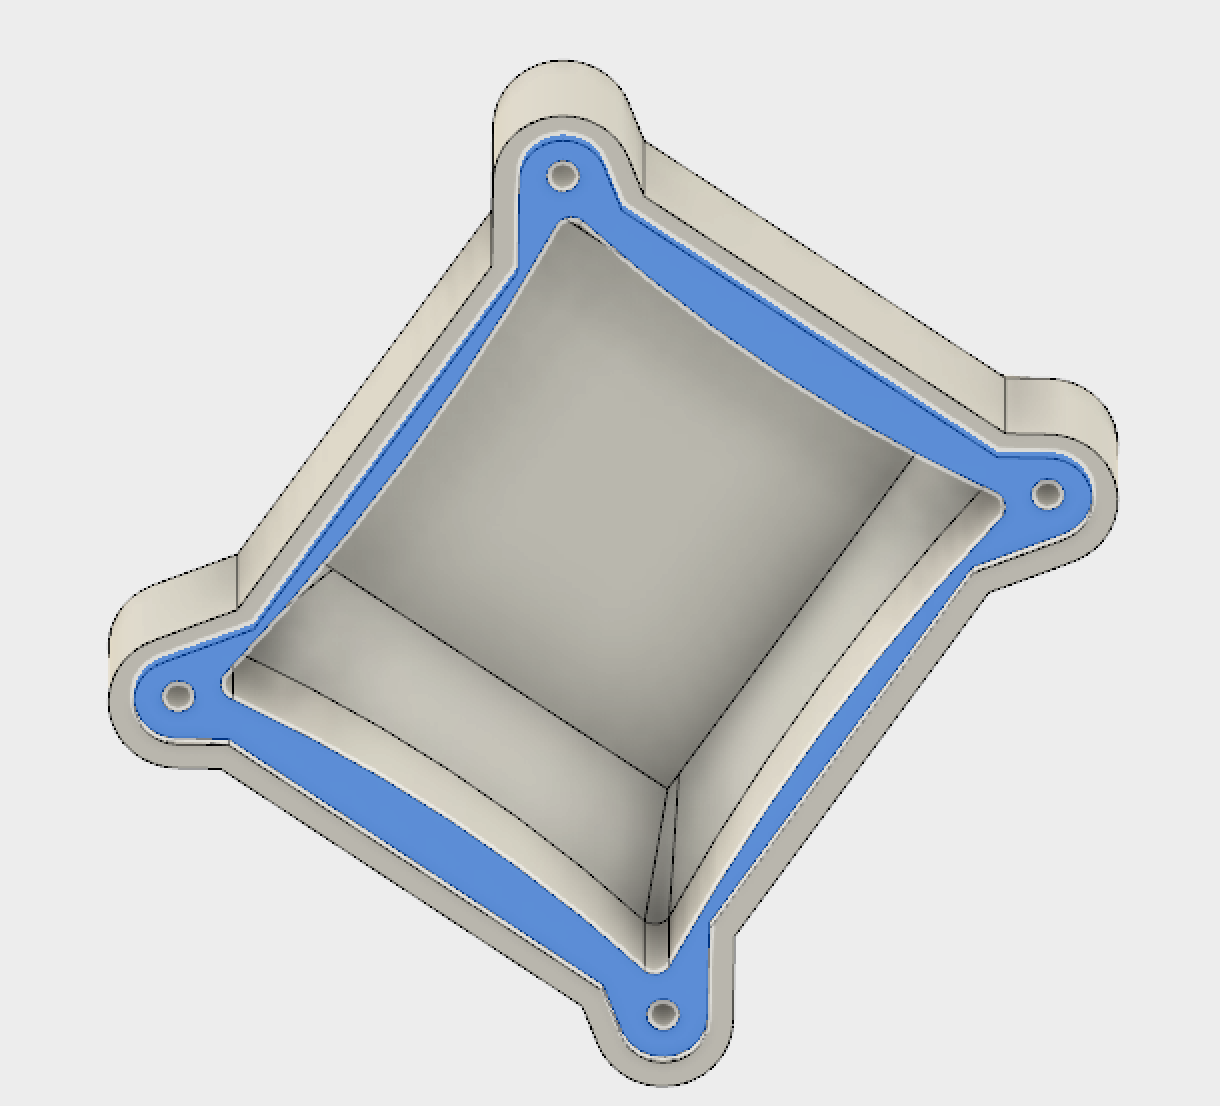
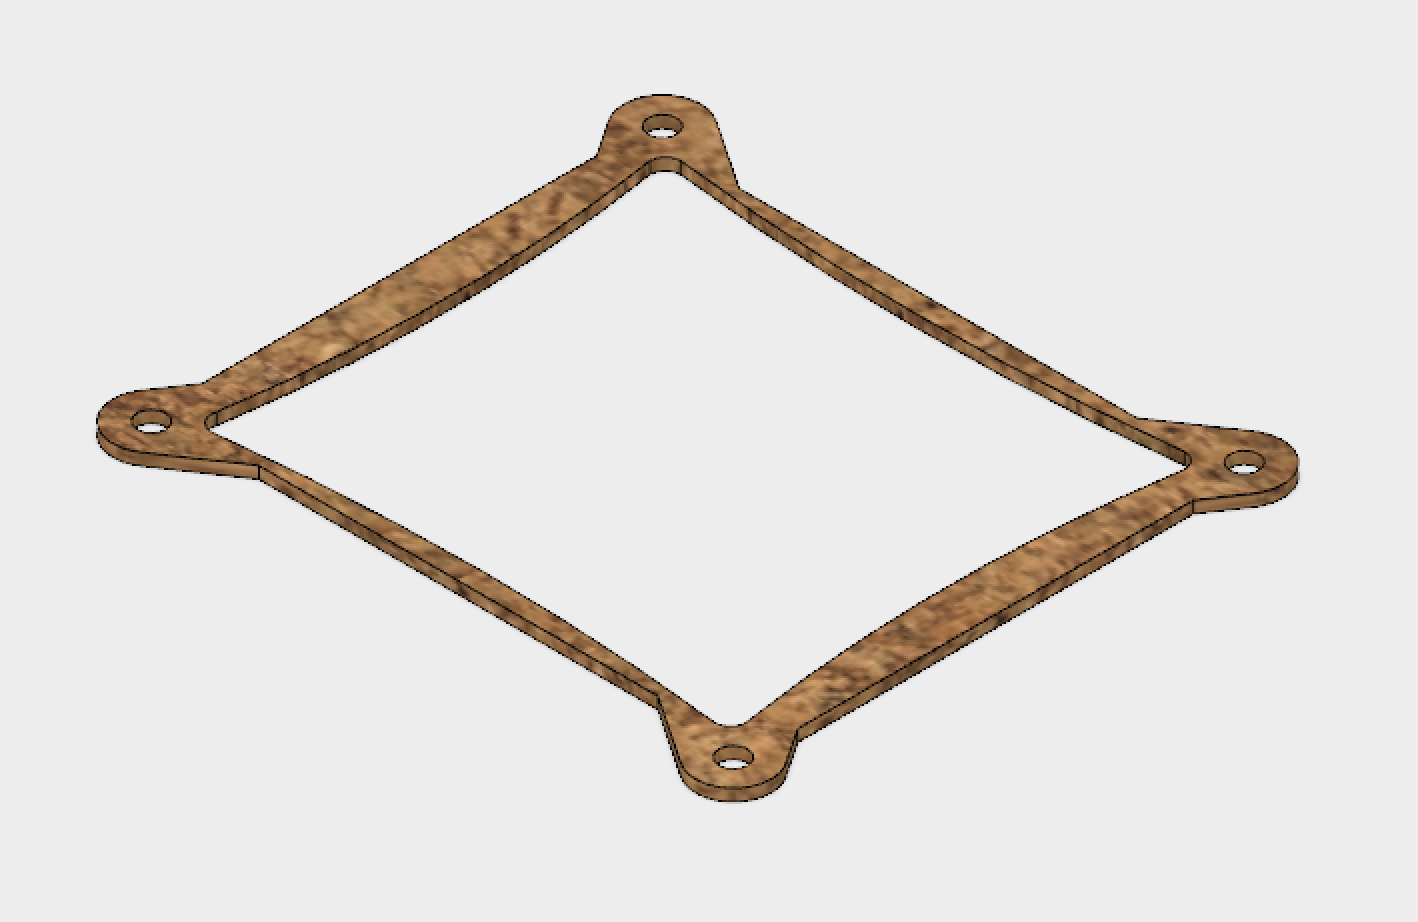
I used the face of the bottom part of the cap to create the gasket design. This was done very easily using the project command and then extruding face out 1/16 inches.


Face of where the gasket goes and where the projection was taken from


Gasket rendering
The design didn’t take much time, but figuring out the laser cutter settings did take time. I was able to determine that the optimal settings to cut the cork were at a speed of 30 mm/s and a power of 15% on our laser cutter. Here are some pictures of the cuts:


I got this material from McMaster-Carr. This other link also gives some characteristics of cork.
Conclusion:
This is being put to the test, as we just deployed four sensor suites and they were all equipped with this gasket. We will see if it is able to keep the electronics safe from moisture and running until the battery dies or the term comes to an end.
