Pythagorean Rain Validator

The rain validator needs to be drained after it reaches its maximum capacity. To do this we implemented the Pythagorean Cup principal. This allows for our validator to reach a certain liquid capacity and then drain. The principal is quite simple; the liquid is permitted to rise to a certain level and when the point is reached, a siphon will drain will the container. 


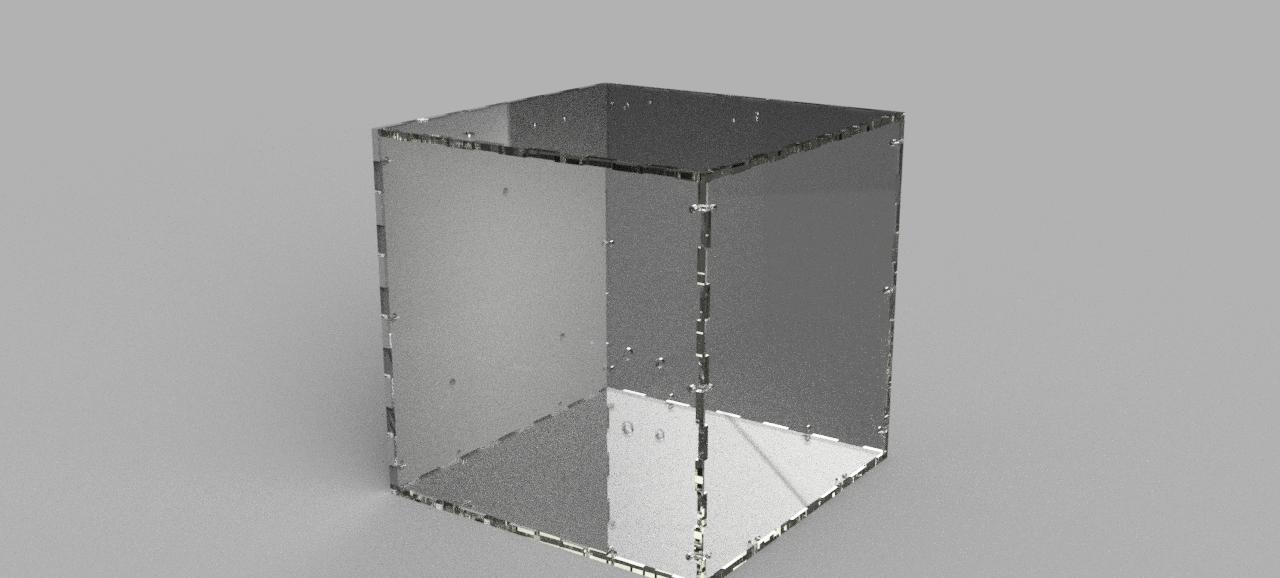
Rain Validator CAD rendering 

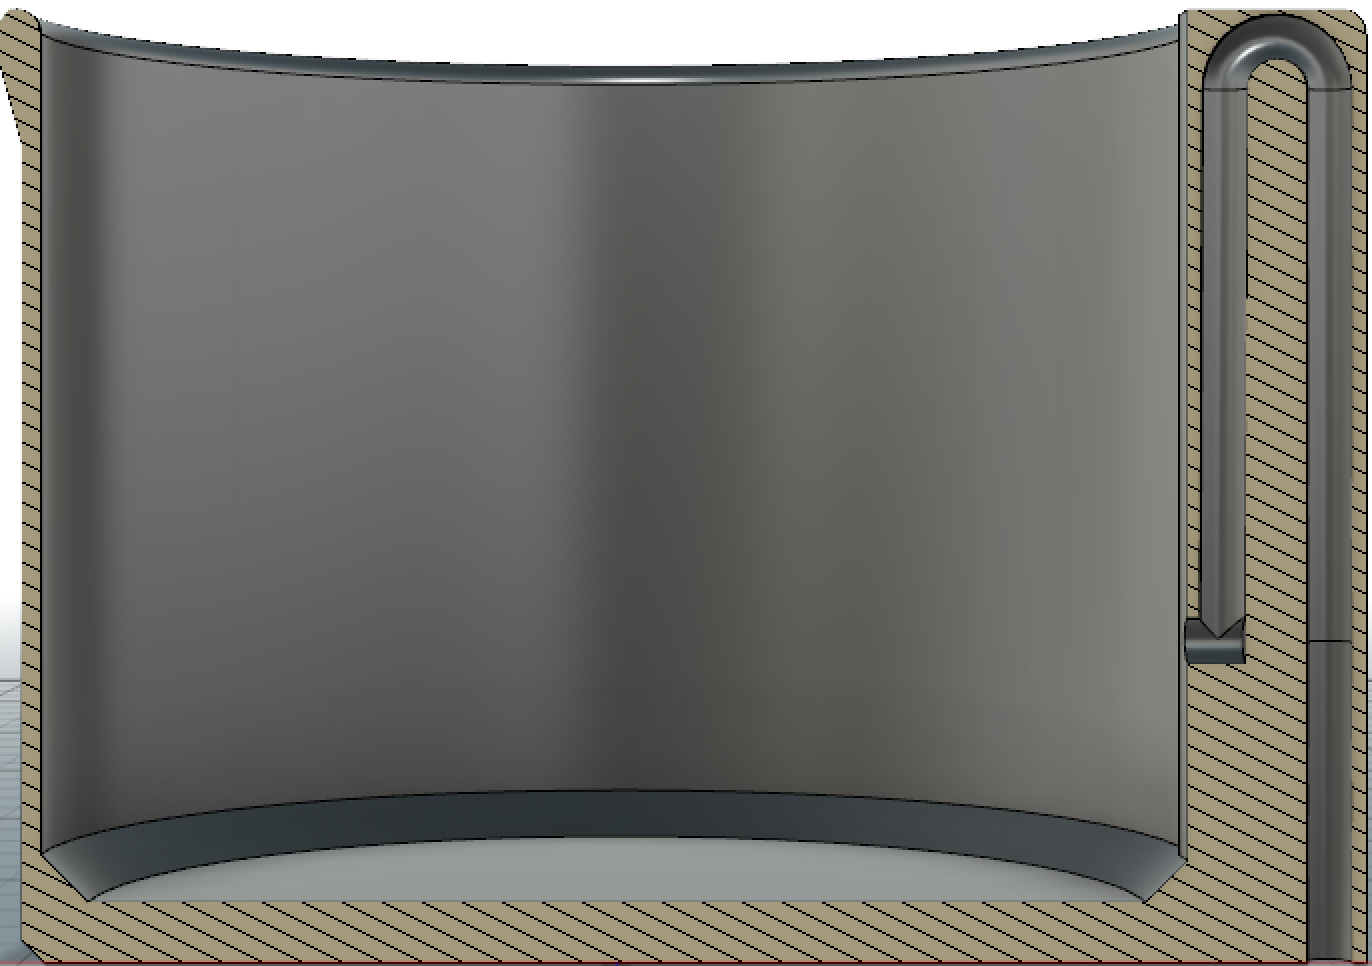
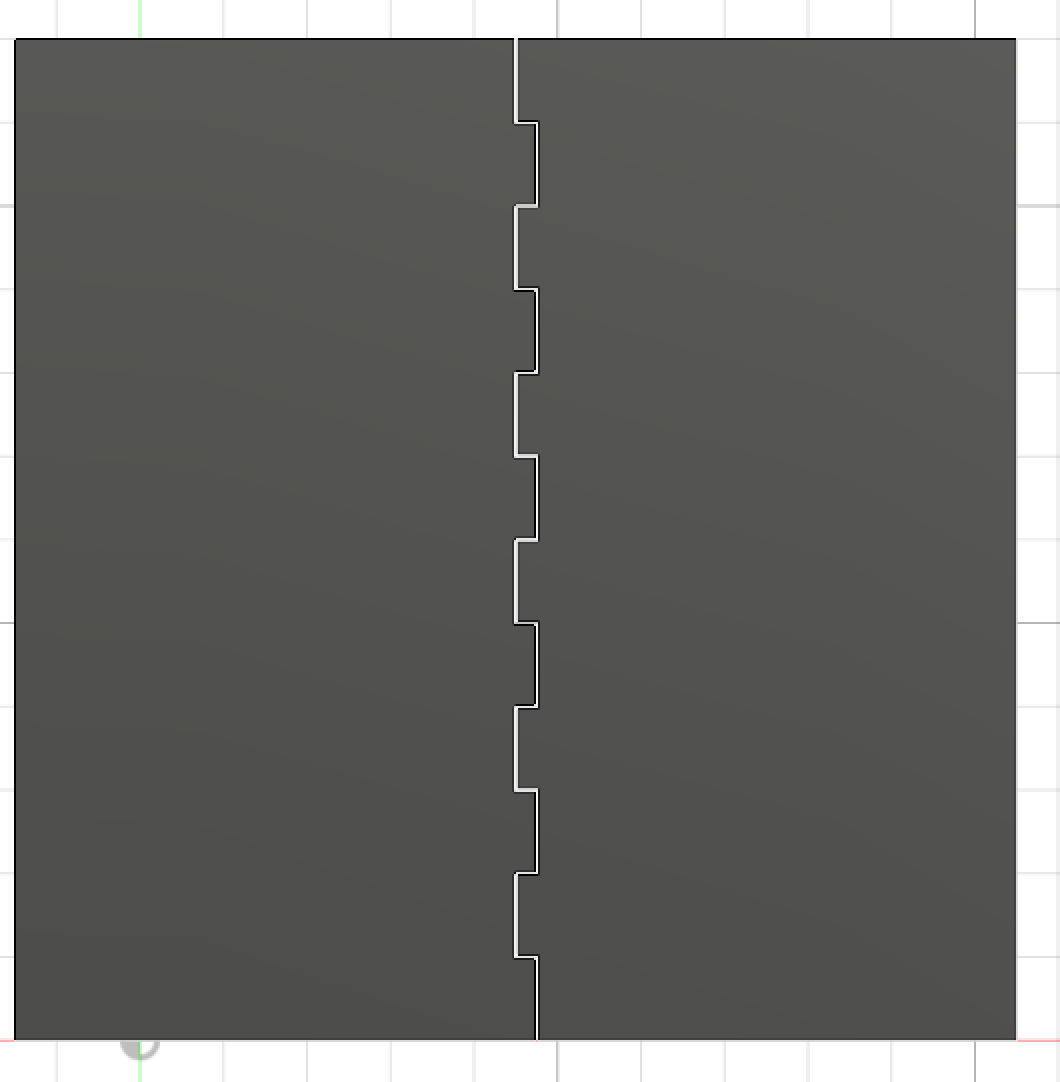
Section Analysis of the Rain Validator using Fusion360

Our design works but needs modifications to be able to work appropriately. The following video is a demonstration of the current desing. 

New Laser Cutter Lens

The laser cutter came with another lens that we were totally unaware of its existence. Why would such expensive machine be missing one of its main parts? Looking through an accessories box of the laser cutter, I came across a little box that contained something wrapped in white paper- it was the other lens! The lens that we were using would only cut when it was in the metal-cutting position, even though we were not cutting metals. This new lens can cut in the non-metal and metal positions. 

New lens 

The very first thing that I tested  was if it could cut in the non-metal-cutting position. After that, I proceeded to test cardboard, plexiglass, and foam.When cutting foam we were getting beveled cuts. This was the main reason we considered buying to new lens to get better cuts. 

 Circle and rectangle test cuts with new lens. Of each set, the left pieces were cut with the old lens and right pieces with new     lens.

We can observe that the new lens can cut straight down the foam without creating a bevel. This is exactly the type of quality we need and expected from such a laser cutter. With our old lens it was really hard trying to get a straight cut; we got pretty close but nothing compared to this new lens.

Rube Goldberg Project Box

Making this box is not as simple as I initially thought. One of the most time-consuming parts of this box is making the finger joints. After making the finger joints the rest of the process was very smooth. 


CAD rendering of the box in acrylicCAD rendering of the box in acrylic

CAD rendering of the box in acrylic


Finger joint designFinger joint design

Finger joint design

The CAD was the first thing that was done and then DXF files were exported to the laser cutter. The first prototype of the box was made out of cardboard to make sure all of the sides would fit perfectly- not too wiggly and not too tight. 

The DXF files are the surfaces sketches of each of the faces of the box. These files are the ones that are processed into the commands that the laser cutter uses to position the laser. Having the CAD finished makes it easy to produce these files because we just pull them off the faces of our designs. 


Cardboard prototype 

We also did our first tests etching on cardboard. The OPEnS logo was the design that we used for our testing and it came out very well. 

First cardboard etching test