Testing foam on Laser Cutter & Making Foam Inserts for Tools

The foam finally arrived and we have started to experiment with it. I cut various small 10 x 10 mm squares at different power levels, speeds and heights to determine our best settings. The settings that I observed were cutting the best: Power 17, Speed 23 and Height 3315.9mm. 
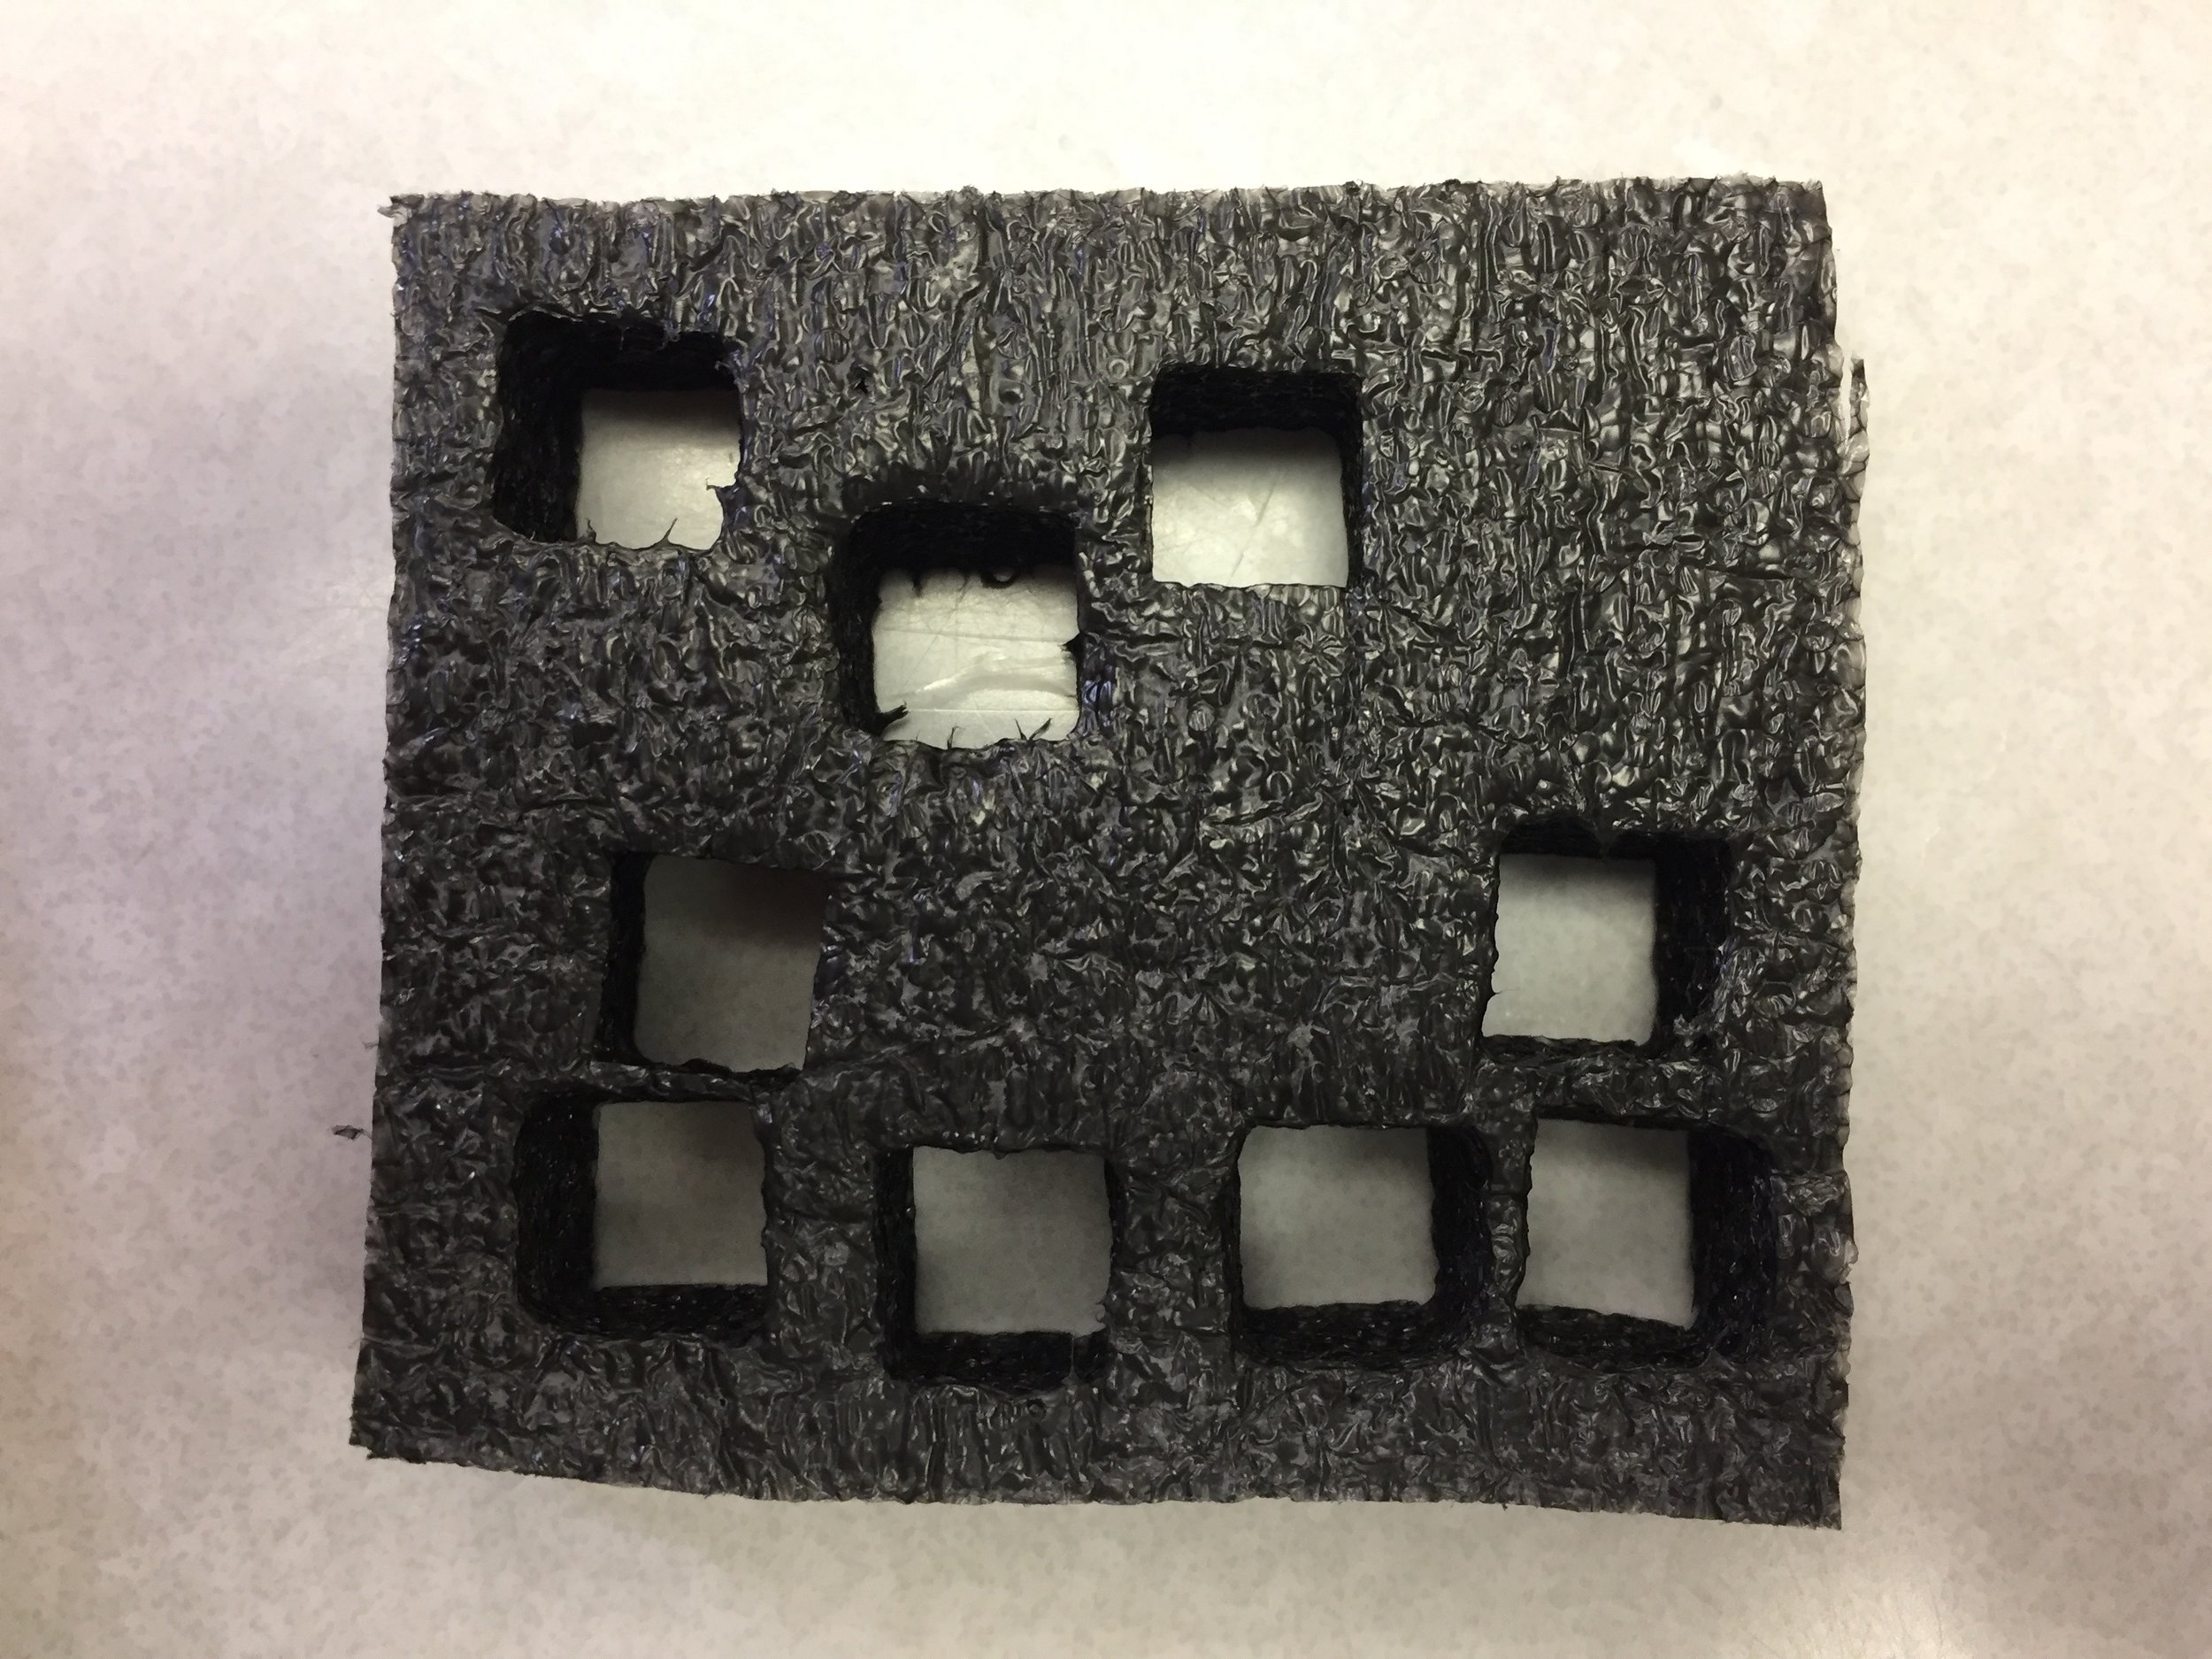
 

Sample cuts on foam 

After doing some testing I intended to  cut the foam inserts for the drawers. When loading the DXF file from Fusion360 on to MetalCut, the file appeared to be changed. There were some extra lines that were not supposed to be there. After analyzing the MetalCut file, I noticed that the program was making some discontinuities in the design outlines and created lines towards the center to compensate for it. I believe it was doing this because the file had some sharp edges and I think it doesn’t precess these edges very well. 

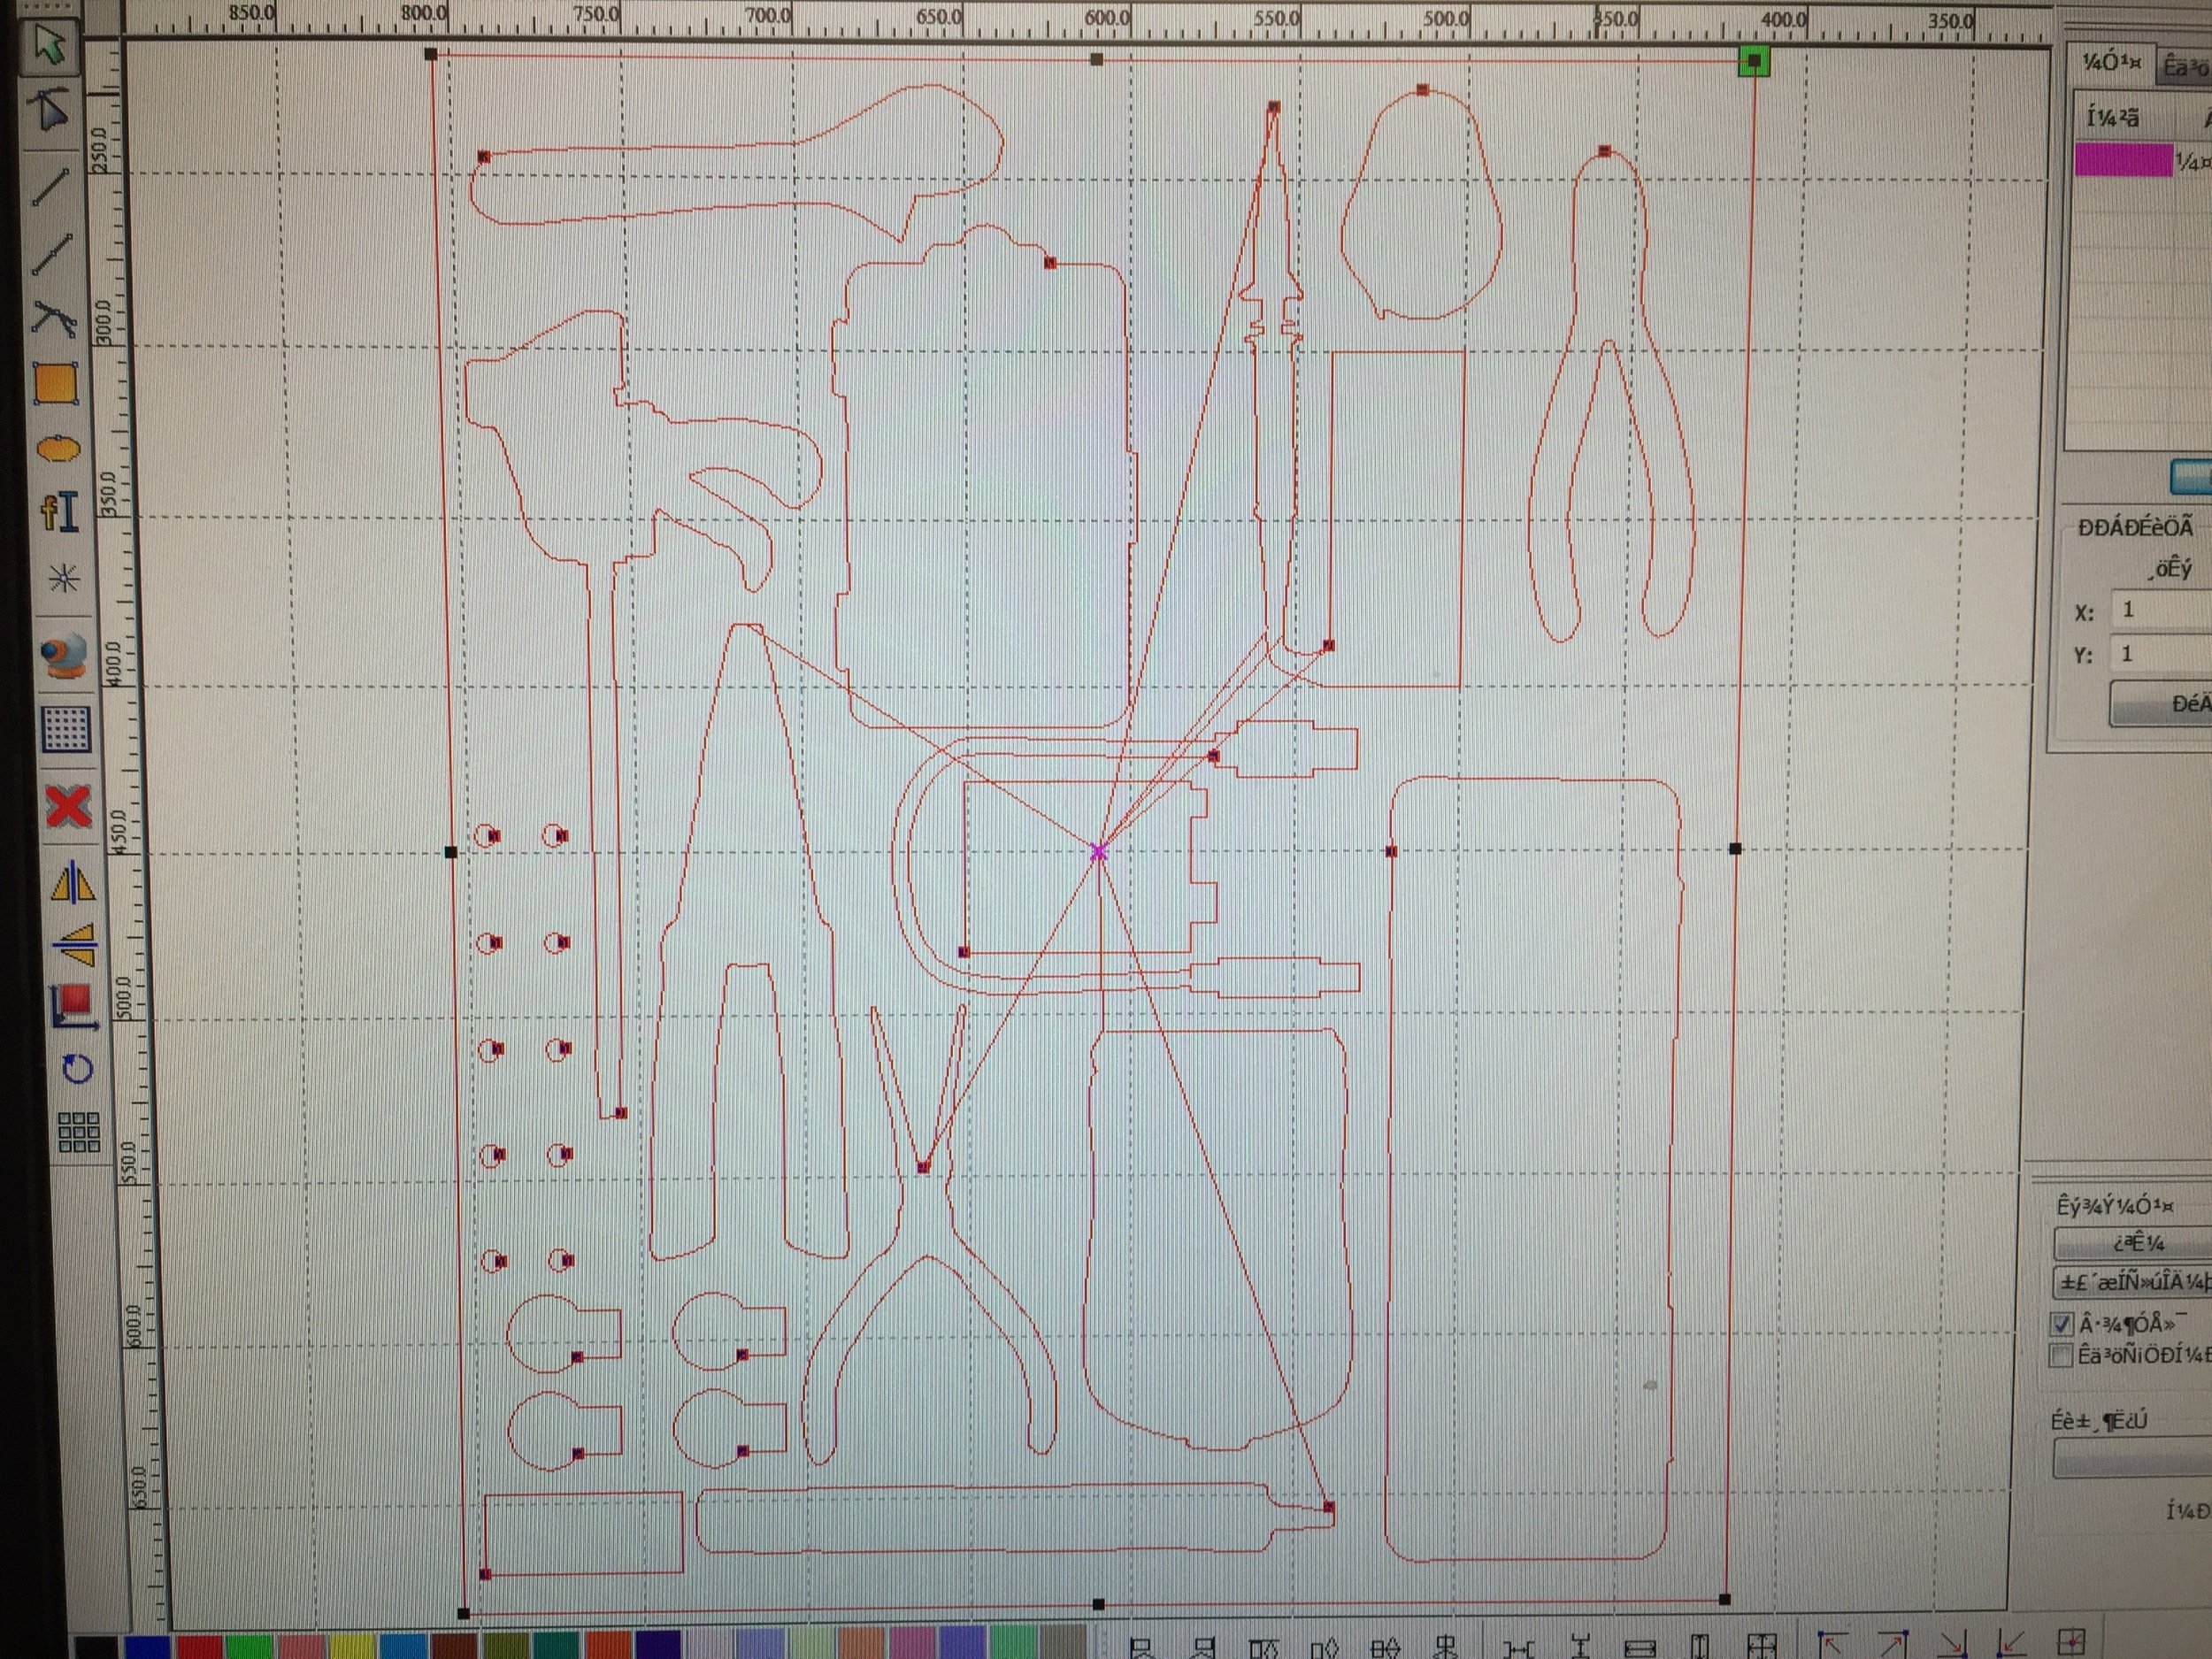
The Fusion360 design is being fixed. Only some pieces seemed to be affected by these sharp edges. After all the changes have been made, the cutting process should go smoothly. 

Transferring CAD of Rain Catcher Calibrator from OpenSCAD to Fusion360

Fusion360 a smarter tool for makers and professionals to use when making parametric designs. It uses a GUI to input the parameters and doesn’t require any previous knowledge in programming.  I have decided to transfer the design over. This will make it easier to modify when the user downloads our files, especially if they don’t have any programming experience.


Using the Laser Cutter to Make a 3D Model

We took a 3D model of an Icosahedron and used 123D Make to create a 3D-laser cutter version. 

CAD Model

3D Model

We can now show demonstrate one of the uses for the laser cutter. This could be useful when someone needs to make a 3D model of a topographic map. This is also considerably faster than 3D printing this piece. 

Wind Vane PBC Design

Wind Vane PCB

This is the board layout design using Eagle CAD

Wind Vane PCB Schematic

Schematic of the Wind Vane PCB

The first version of the design was completed 7/15/16. These designs were sent to the fab   7/21/16. The time estimated to arrive back at the lab is about two to three weeks. As soon as the boards arrive we will start the assembly process of all the pieces. Click on the pictures to take you to the github repository.

Soil Vapor Sampler

Image

Soil Vapor Samplers

Soil Vapor Samplers V52

We have printed working prototypes for the soil vapor sampler! These are the first three. These pieces have undergone an acetone vapor treatment to increase structural strength. The vapor treatment also gives them the shiny finish on outer surface.